
DIY Toddler Art Christmas Ornaments

For grandparents gifts this year, I wanted to make some type of Christmas ornament with my 18 month old daughter. She’s a little young for most of the cool ornament crafts I’ve seen on Pinterest (which are geared for older toddlers and kids) but she loves to paint! I was inspired by these gorgeous mixed-media ornaments by my fine artist friend, Sarah Hart Morgan. The details of hers are truly stunning - the luxe velvet ribbon and gold leafing - and I was so smitten by the tiny little frames. I was able to find similar ones on Etsy and while I personally think everything my daughter creates is a masterpiece, I daresay these little frames elevate her finger paintings to tiny works of art!
These ornaments couldn’t have been simpler to make. They could also be customized to work for a variety of paper crafts for different age ranges and skill levels. Older kids could cut paper snowflakes, use rubber stamps, make miniature paintings or drawings of winter scenes or small collages to put into the frames. With a little creativity, the options are endless!
The first step is to have your kiddo make some art. I dotted a piece of painting paper with red and green paint so Sage could do her thing! She used a paint brush and her fingers to make these.

Next, I made a little square template out of regular computer paper. I liked the look of having the art a little smaller than the frames to make a mat effect with the glass. The frames are about 2.5” square and I settled on 1.75” square for the template.

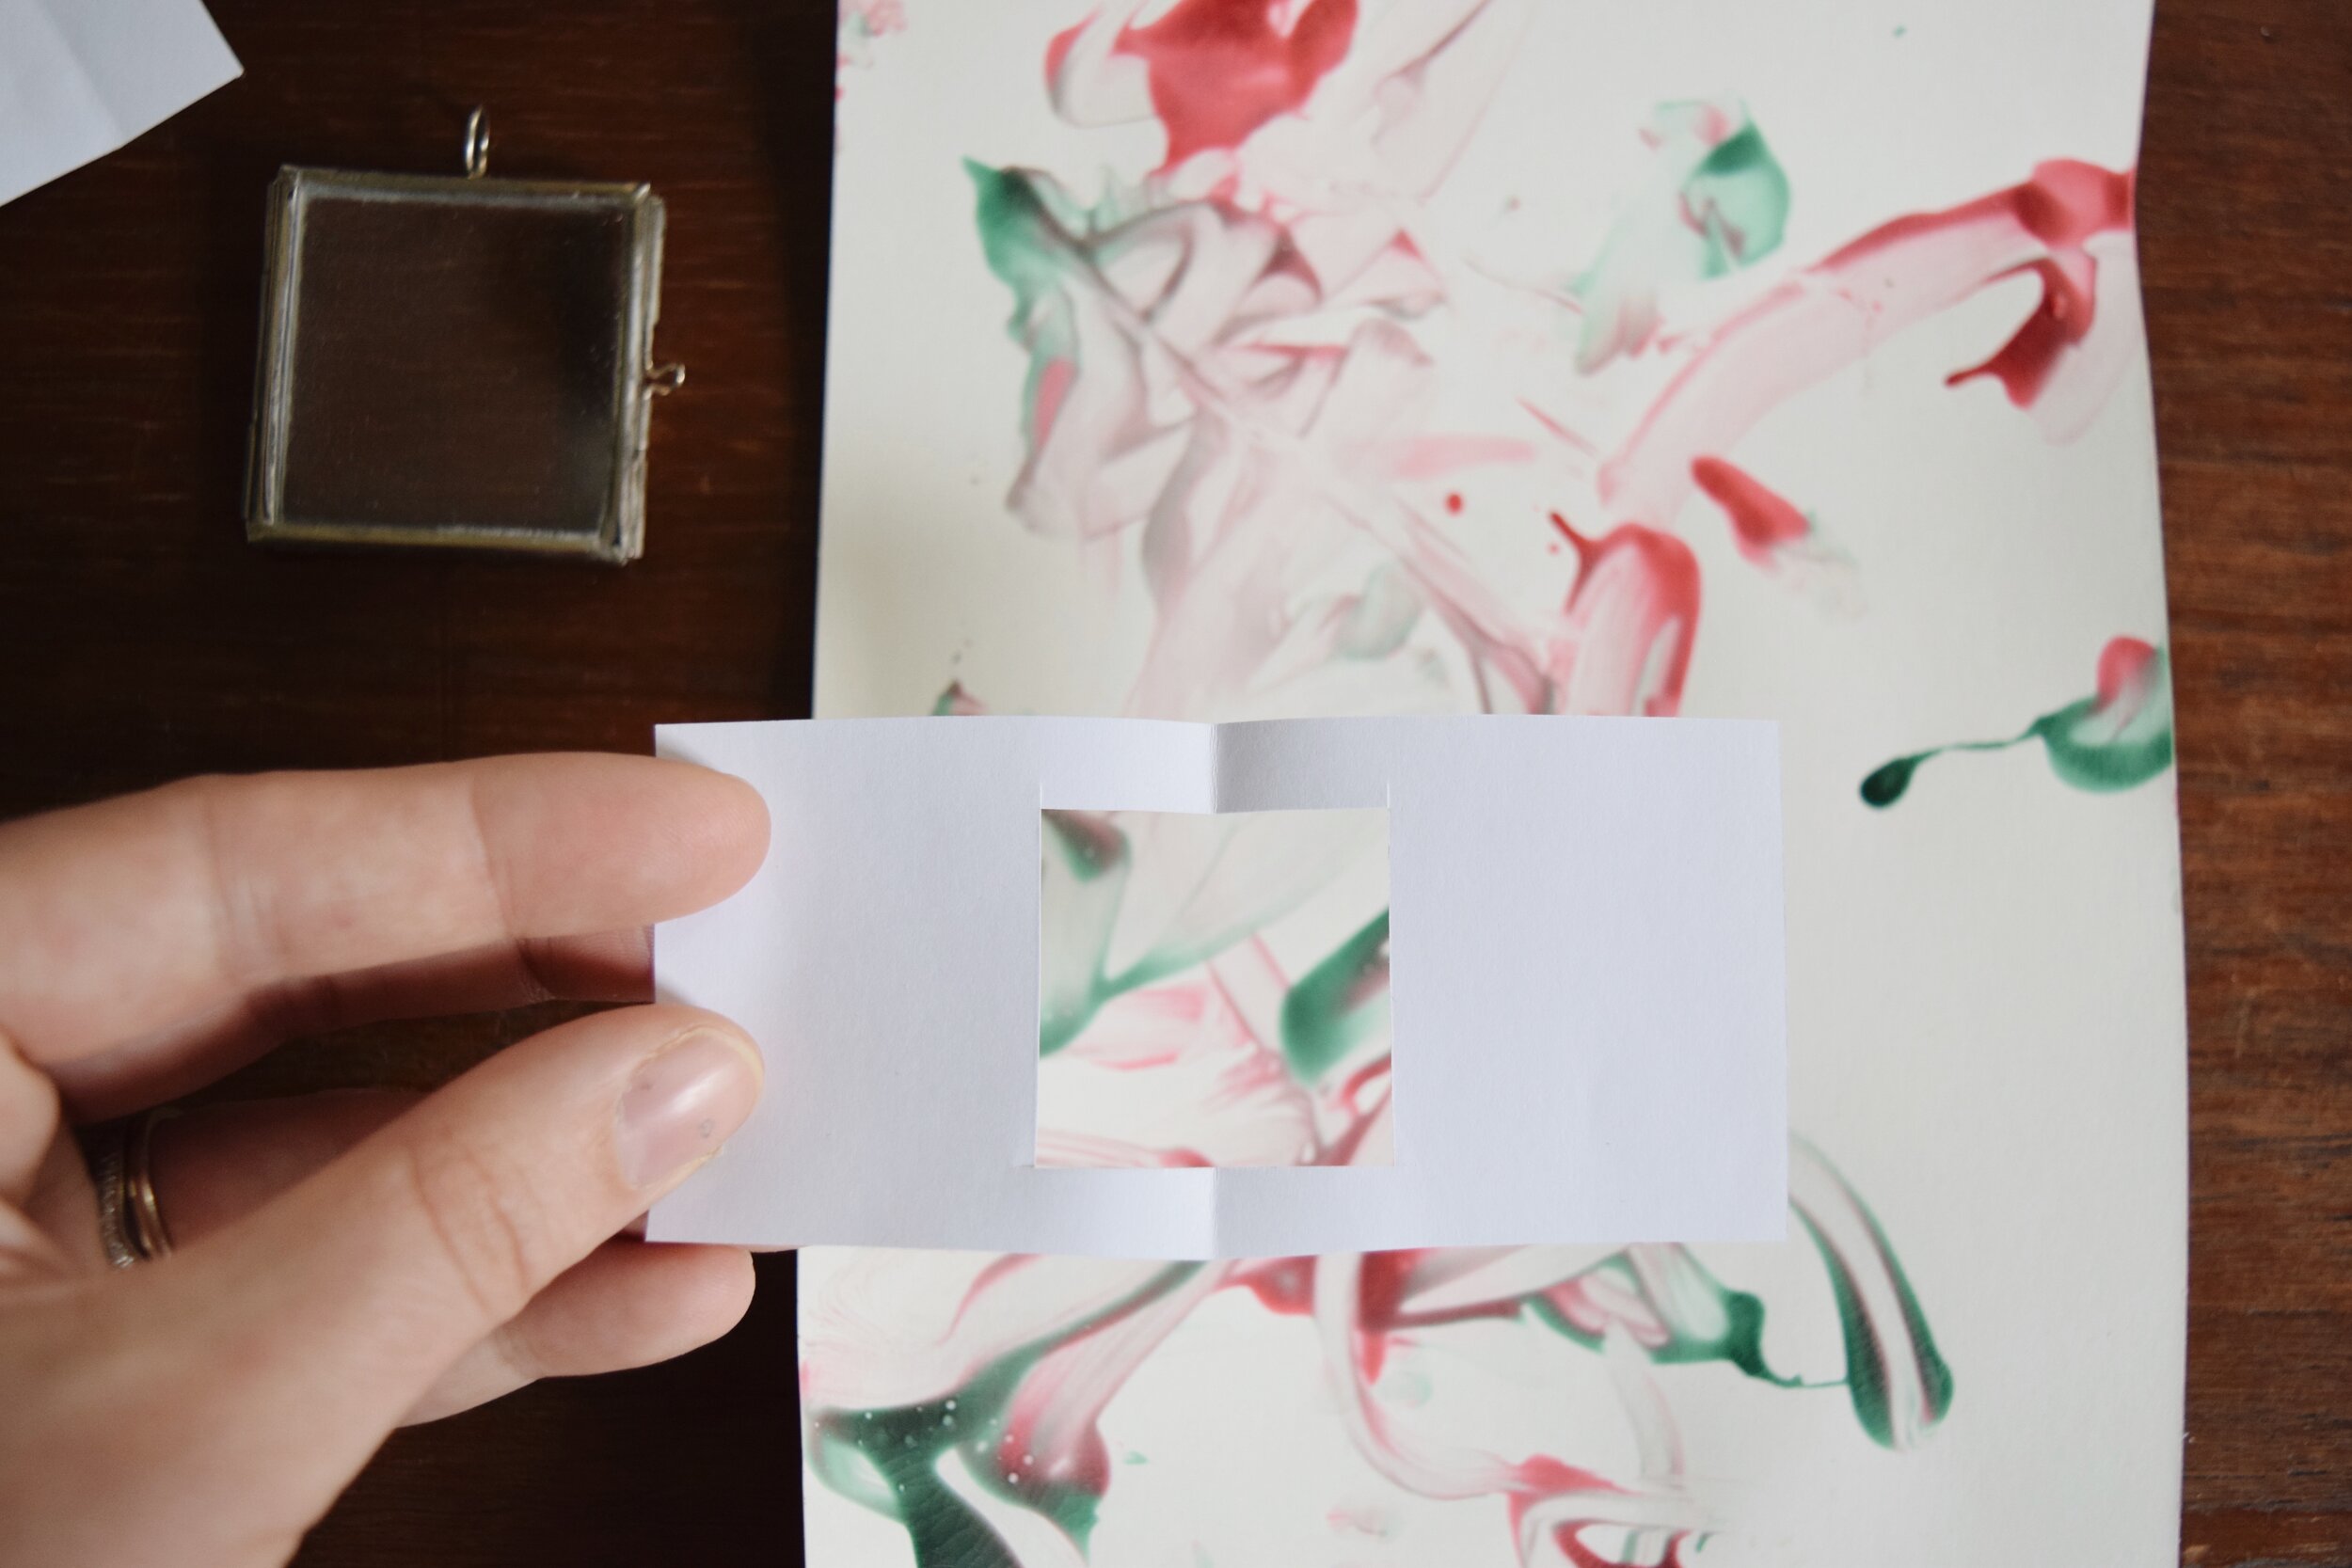
Then I used the template to choose my favorite sections of the painting. I tried to look for sections that had both red and green but other than that, I just went with what I thought looked pretty! I used a pencil to trace within the window until I had enough squares traced for as many ornaments as I was making. Next, I cut them out with regular craft scissors. I’m sure they aren’t all perfectly square, but that just adds to their handmade charm! I also wrote “Sage 2019” on the back of each mini panting in pencil.


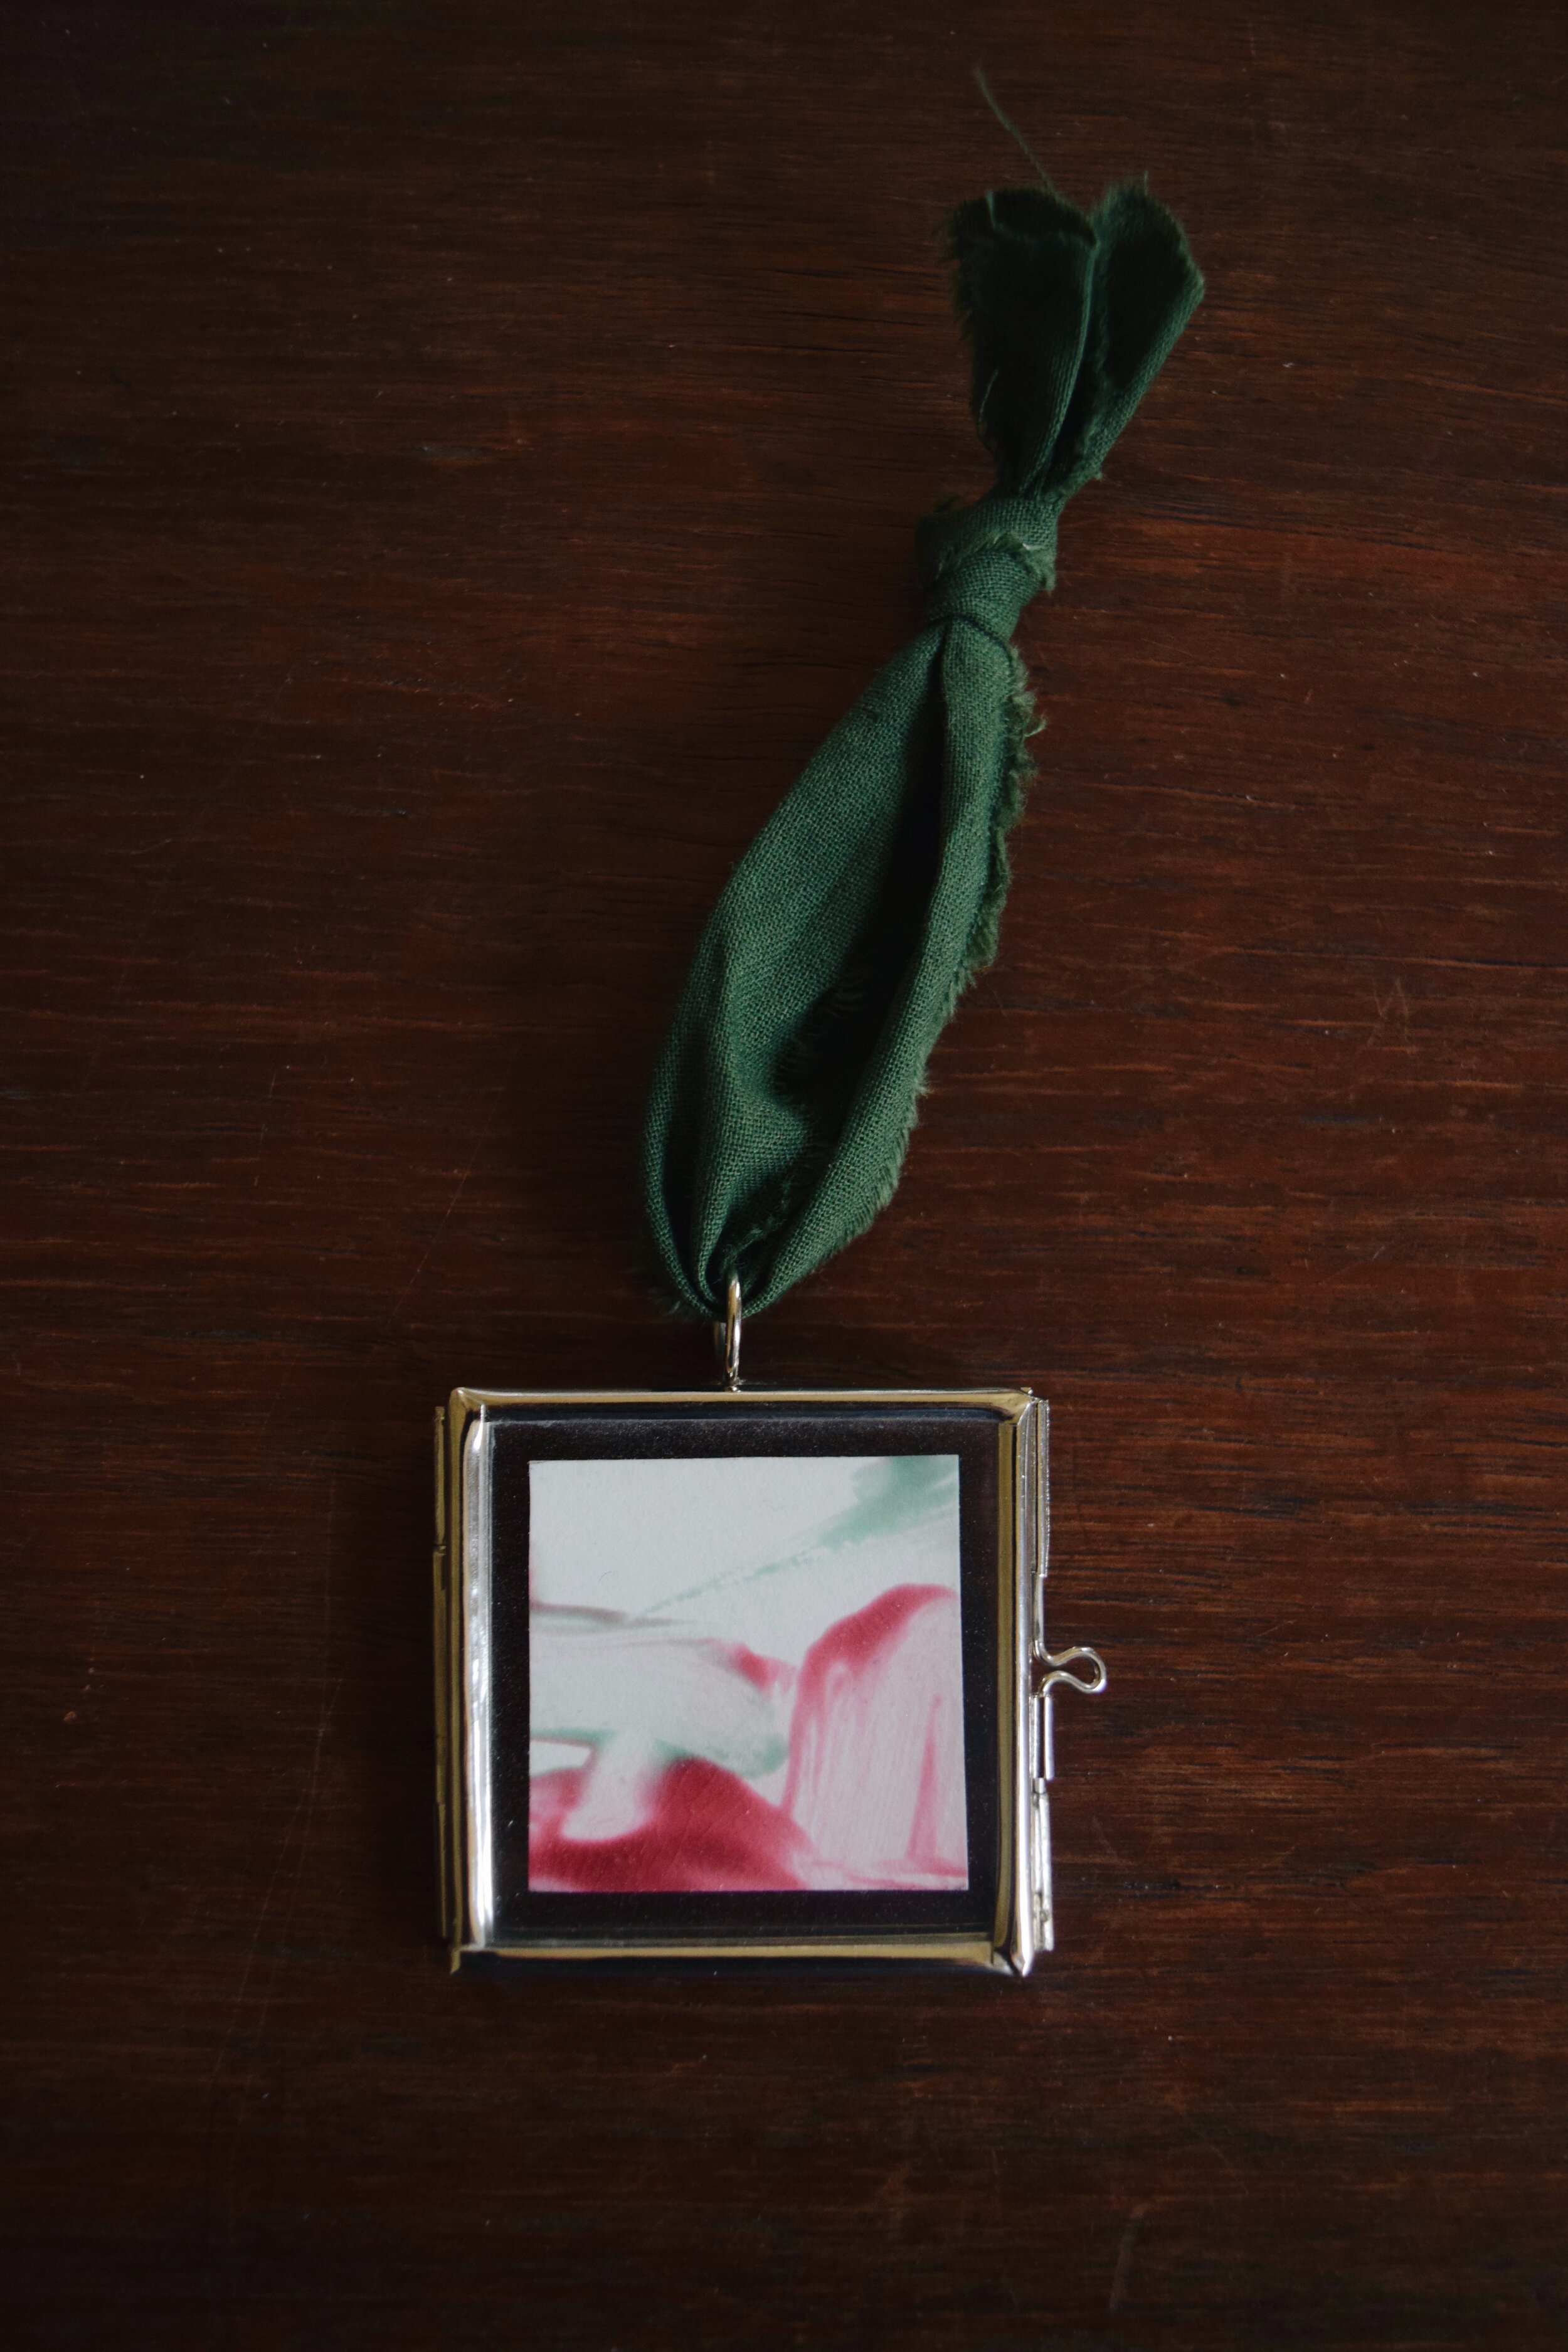
Next, I assembled the paintings into the frame. I used a dusting cloth to clean the glass frames before placing the mini paintings inside. I tried to center the paper so there was an even amount of glass showing on all sides, but I just eyeballed it. I used a bit of clear double sided tape to hold them in place, but if your paper is thicker you may not need to.


Last, I added this forest green ribbon to hang the ornaments from. I like that the dark green keeps it festive but will also blend into the tree a bit when it’s hanging. I used about 10” of ribbon for each ornament, passing it through the loop on top and then tying a simple knot.


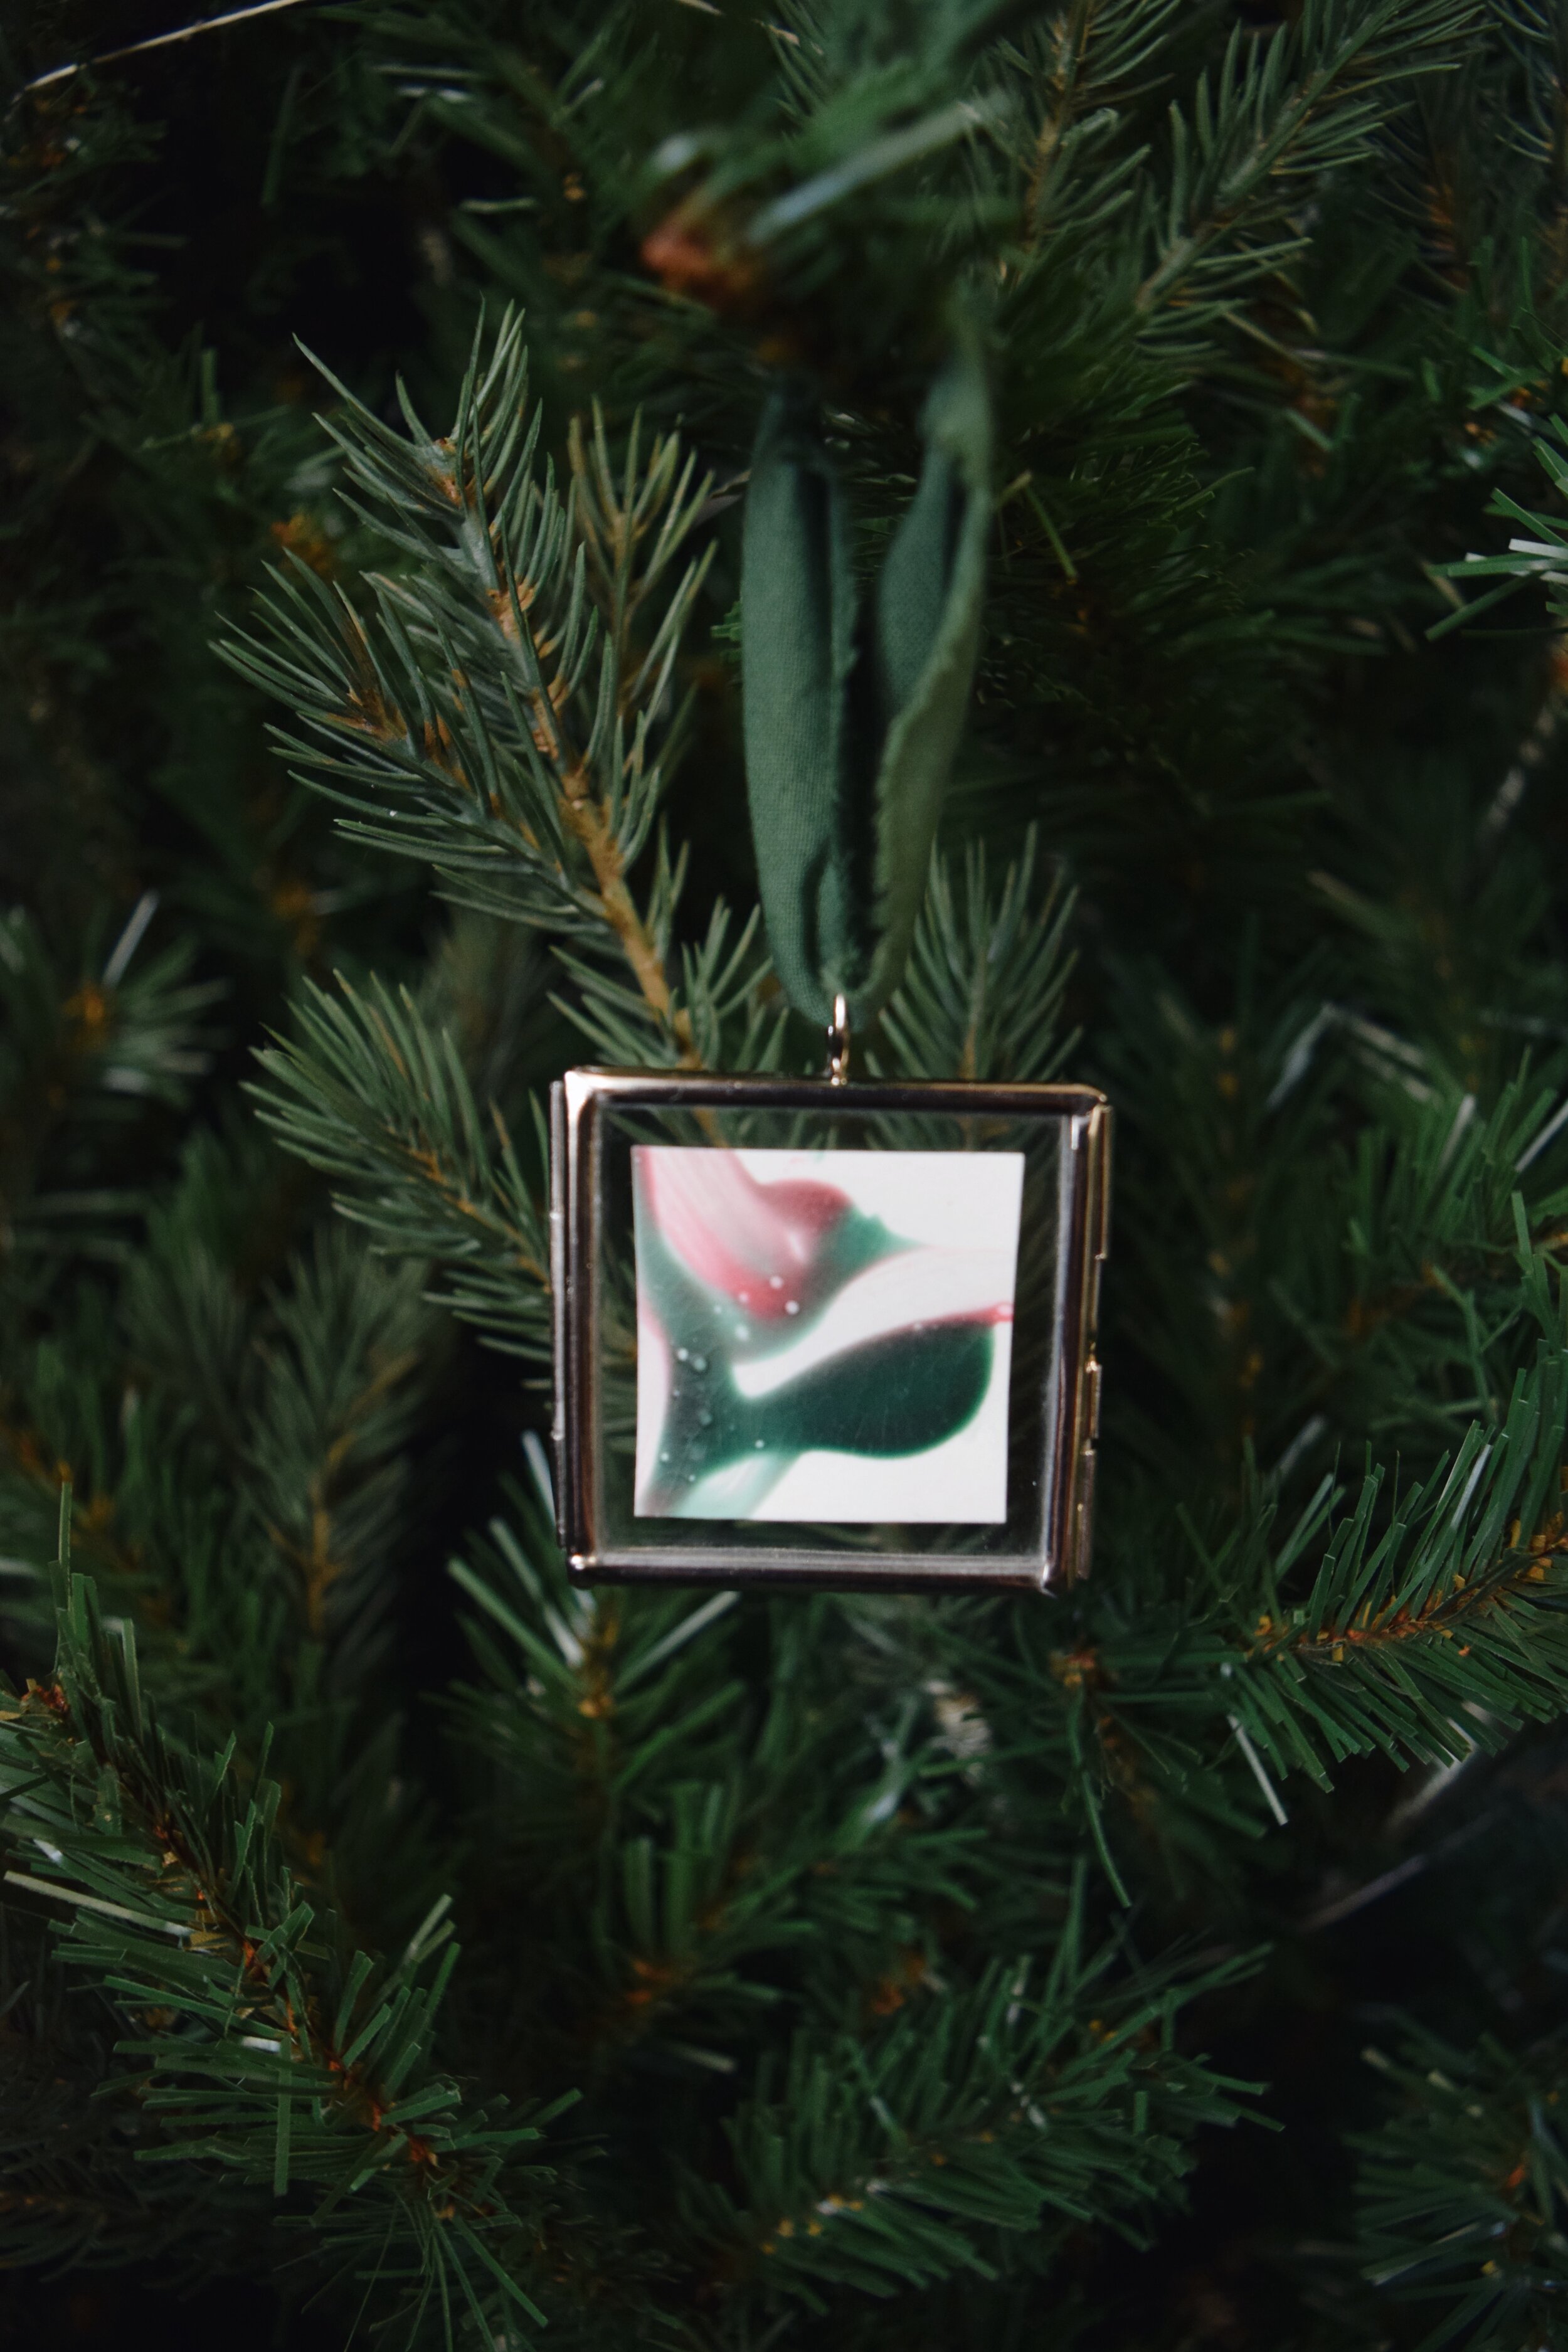
I think these turned out so cute! I’m excited to gift them to Sage’s grandparents and great-grandparents this year. Here’s a recap of the supplies you’ll need if you want to make these yourself!
Supplies
Painting paper or card stock
Scissors
Scrap paper for making template
Pencil
If you make your own version of these ornaments, I would love to see! Tag me on Instagram @steviestorck and use the hashtag #SSDCdiy.
Disclosure: This post includes affiliate links, meaning if you shop using the links in this post, I may earn a small commission at no additional cost to you. Thank you for supporting brands that support this blog!