
DIY Vintage-Inspired Pressed Flower Art
Pressing flowers and leaves is a fun way to preserve a piece of your garden. I think many of us experimented with pressing flowers in a heavy book as children. It’s kind of magical to watch a flower transform from fresh and three-dimensional to dry, flat and papery thin with only some pressure and time. I’ve had a dream for a while of keeping a garden scrapbook, where I press and document one specimen of everything I grow for a whole year.
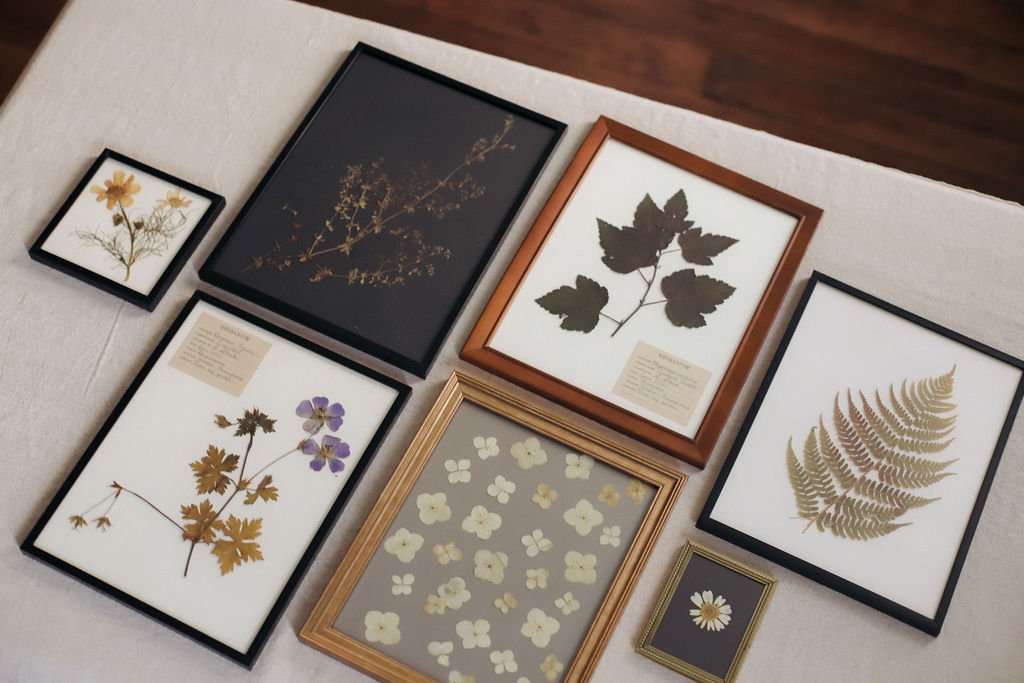
In the meantime, we made our own flower press and I’ve been experimenting with it, making some beautiful keepsake art for our home. Here are the basics if you are interested in trying it yourself! I’ve also created a free, printable vintage-inspired “Herbarium” card that I’m sharing at the bottom of this post.
How to press flowers
There are several different techniques for pressing flowers, including some that utilize the heat of a microwave or clothing iron. In this post, I’ll talk about using a flower press (very easy to make yourself!) but you can also get great results using a sturdy book with something heavy to place on top of it. This is a very old, traditional technique for pressing flowers.
Which flowers are best for pressing
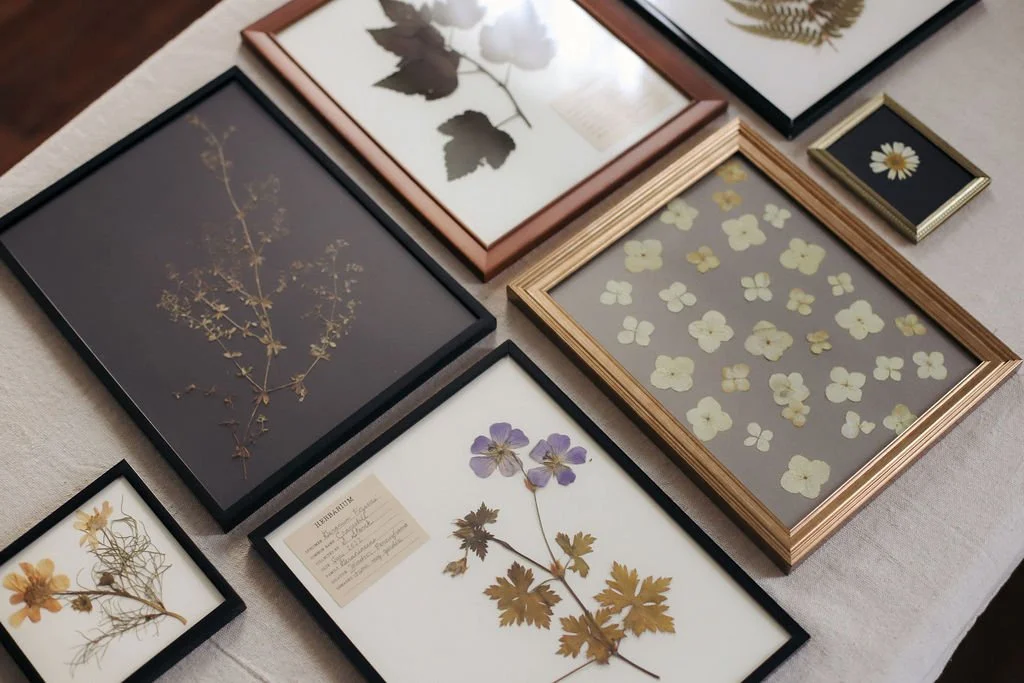
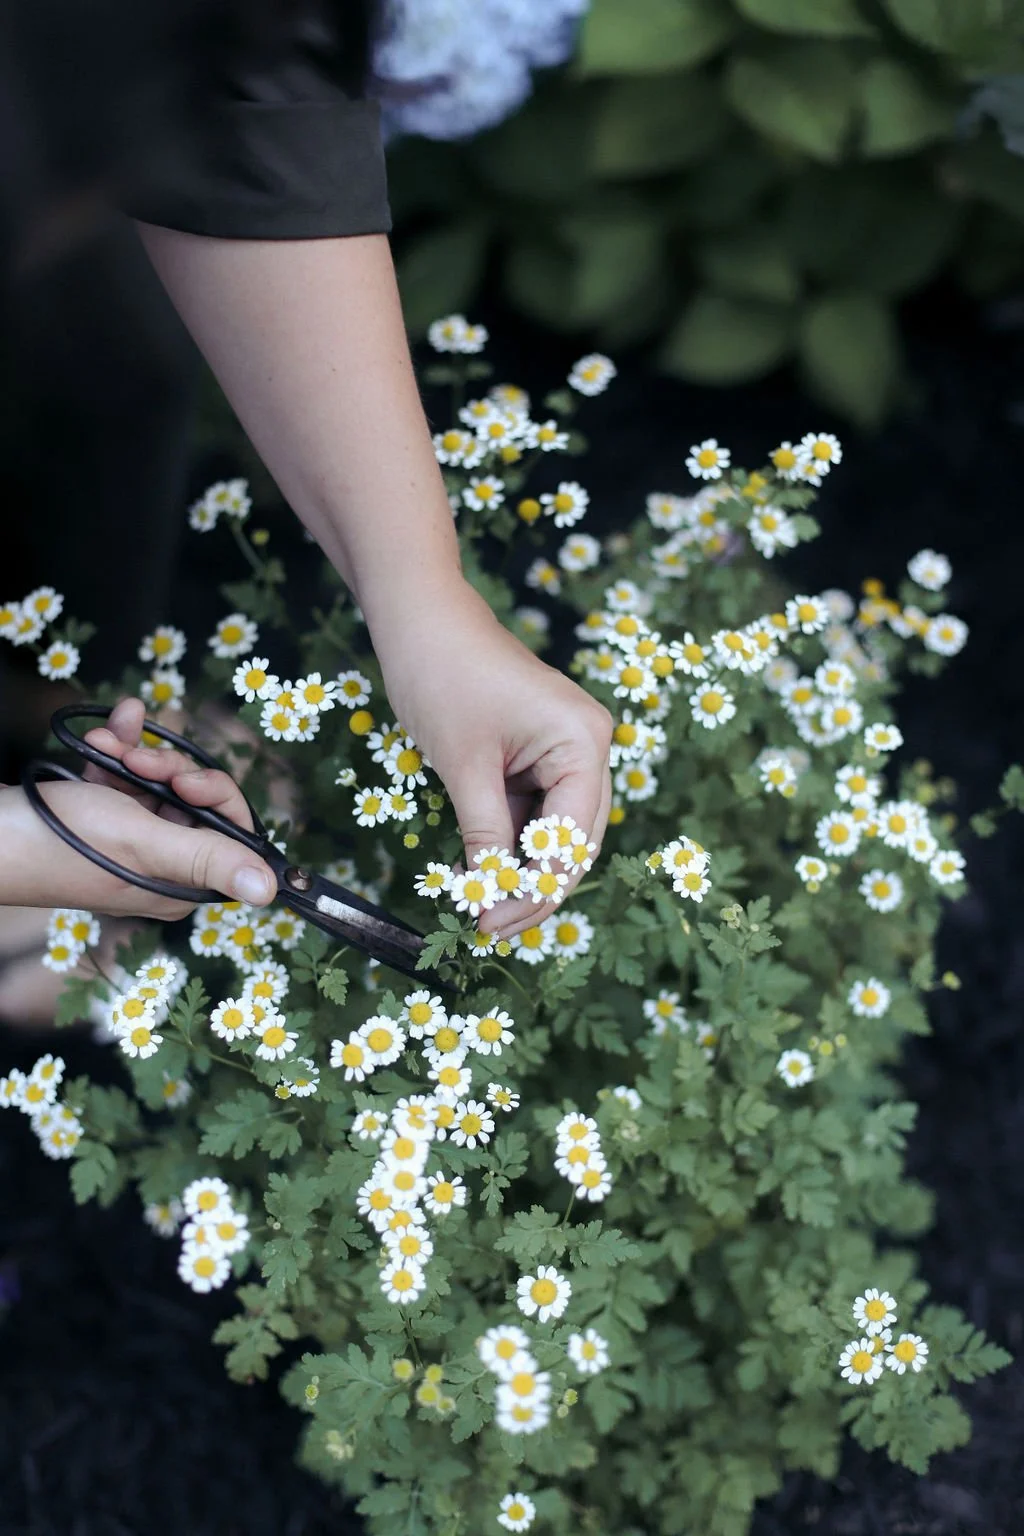
Flowers with a single layer of petals are easiest to press. Things like pansies, violas, cosmos, hydrangea florets, anemones, and daisies all press flat readily. Leaves, ferns, grasses and herbs are great for pressing. I’ve also pressed pretty weeds I’ve found when I’m out on a walk. Just make sure you have permission to pick – many county parks prohibit picking of any kind. You can press thicker, multi-layered petal flowers like roses, peonies and zinnias but it’s a bit trickier. You can try using an exacto knife to cut the flowers in half to lessen the bulk and increase your chances of success. Stay away from flowers, stems and leaves that have a high water content - like begonias, succulents. They are more difficult to dry and are prone to molding.
You can press small cuttings, individual flower heads and leaves or whole plants, roots and all! (Just rinse off any dirt and allow to dry fully before placing in your flower press.) Make sure your specimen looks healthy and doesn’t have any damage or pest spots. For best results and color retention, you should press botanicals immediately after picking.
What should I use to separate the flowers while pressing?
A paper that can absorb a bit of moisture, like parchment paper, thin cardboard or newspaper will work well. Newspaper actually has some anti-fungal properties that are beneficial during the drying process. Wax paper is also a commonly used option and prevents sticking.. Paper towels are not ideal because they will leave a embossed texture on your pressed flowers.
What type of paper is good for mounting pressed flowers?
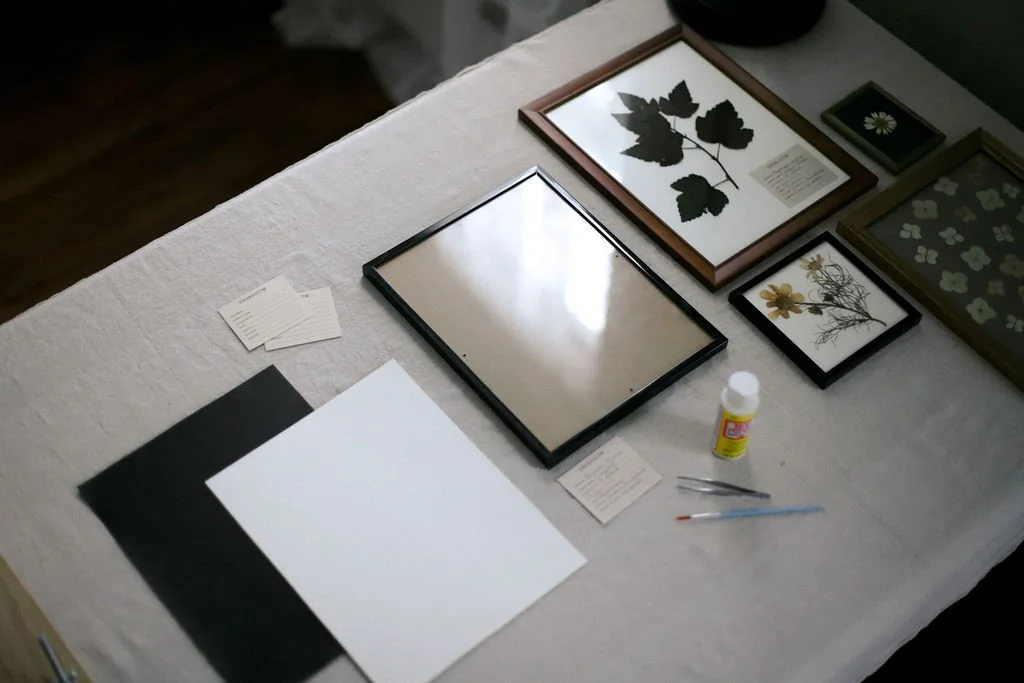
Something a bit heavier, like cardstock or watercolor paper works great. Ideally, the paper should be archival, acid-free. I used individual sheets of 12” x 12” cardstock purchased from the scrapbooking section of the craft store so I could choose exactly the colors I wanted and cut them down to size.
I like an antique look, so I chose soft ivory and faded black color papers. A bright white would feel a bit more modern. Or you can get creative with using a different color background or mounting on a piece of clear glass or acrylic for a floating look.
Which type of glue should I use for mounting?
Any type of craft glue or adhesive that dries clear and matte is ideal. I used Mod-Podge this time but in the past I’ve used regular old Elmer’s glue with good results. You don’t need very much to secure your pressed botanicals. I like to use a small paint brush or q-tip when applying the glue.
Supplies you’ll need
A flower press or heavy book
Sheets of absorbent paper Freshly cut flowers and/or leaves
Cardstock for the backdrop of your art
Craft glue
A small paintbrush
Picture frame
Optional: printable herbarium card (free download the end of this post!)
Instructions
Step 1:
Prepare your botanicals, making sure they are free of dirt and completely dry. Place flowers and/or leaves on a sheet of absorbent paper, taking care to leave plenty of space between. If you are pressing multiple specimens on one page, try to choose ones that are similar in thickness.
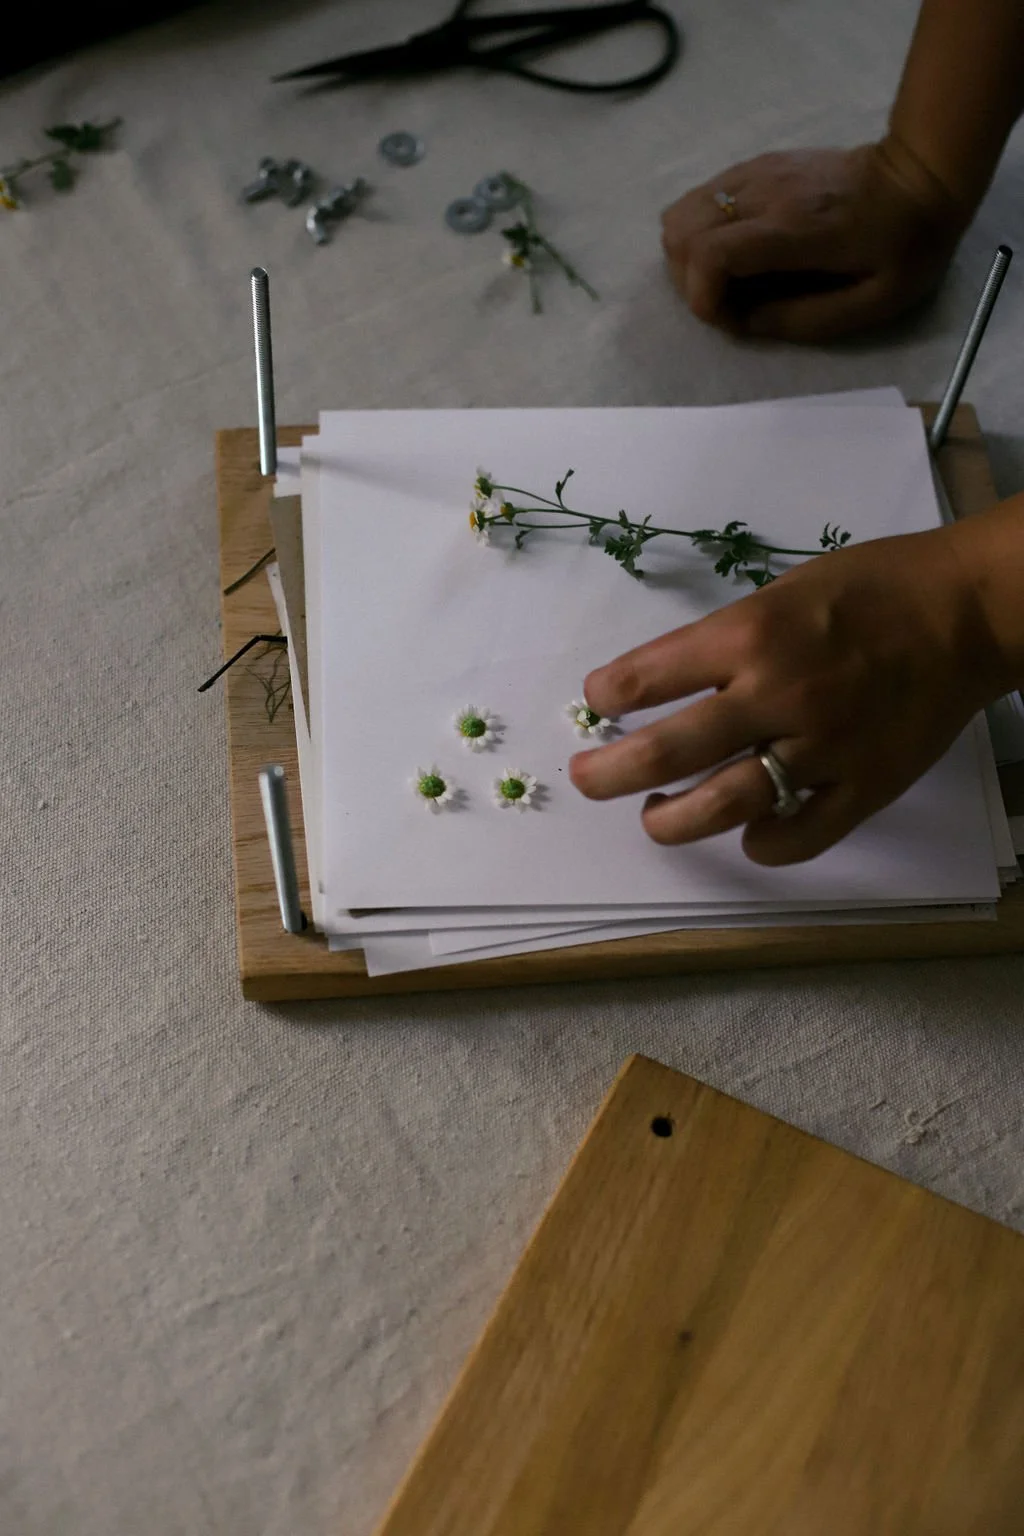
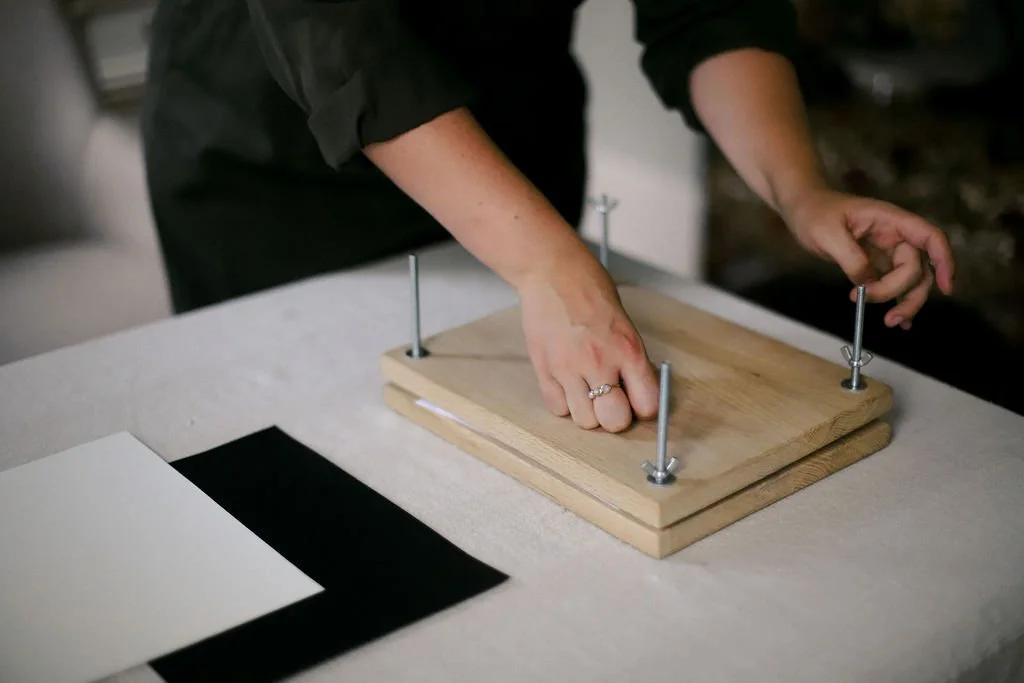
Step 2:
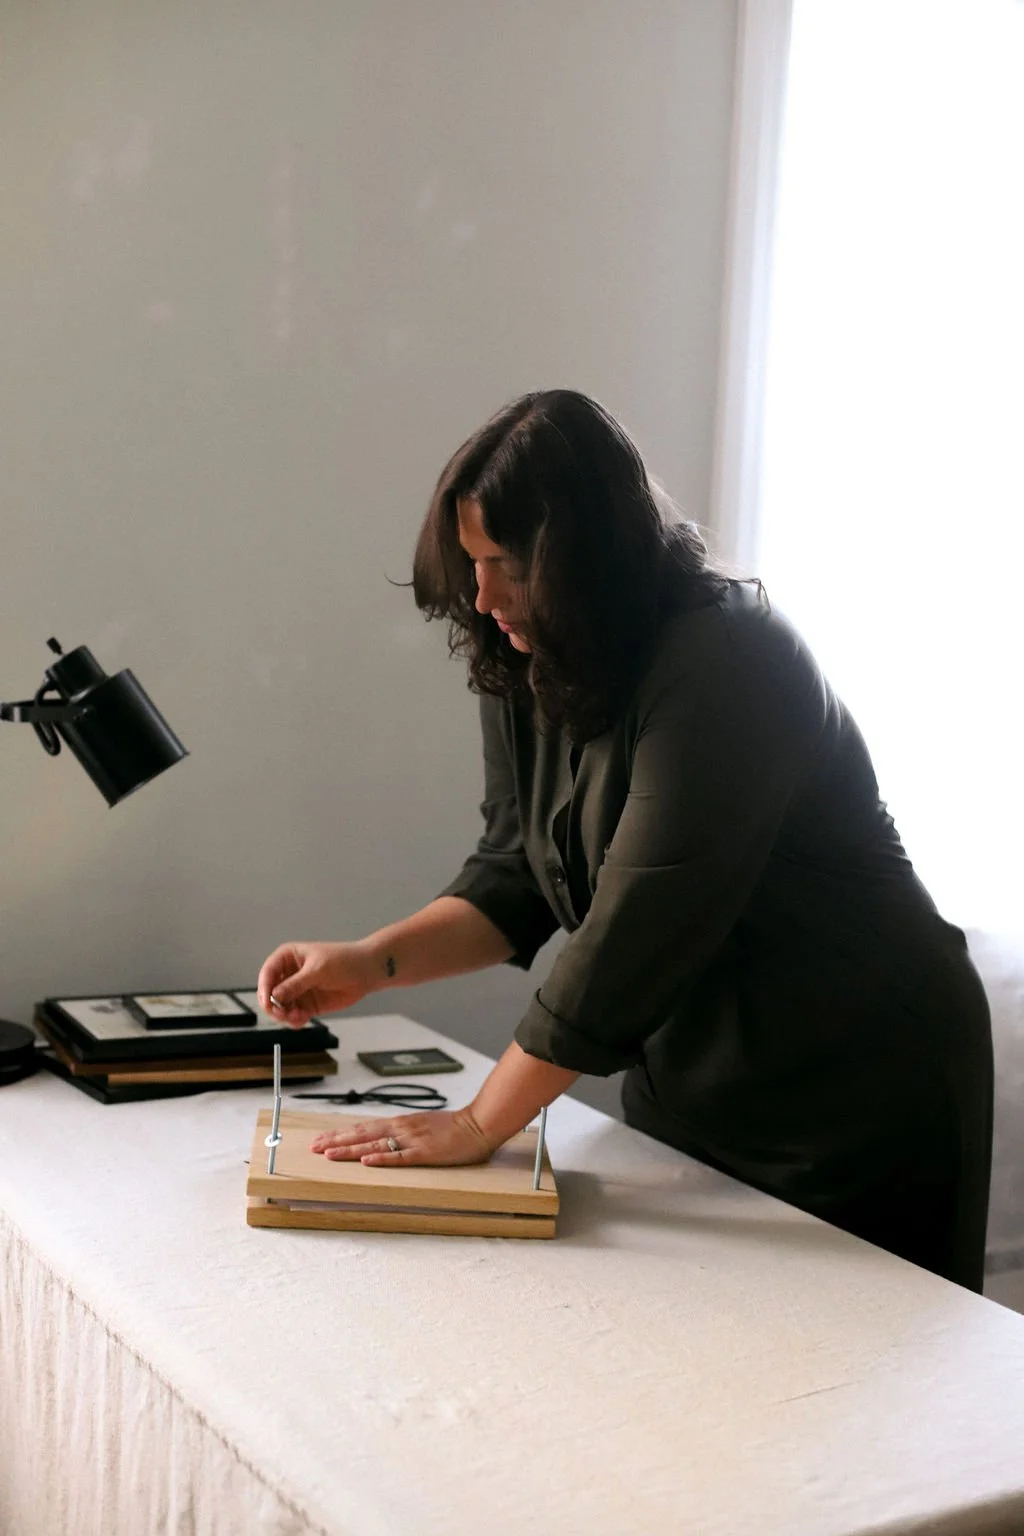
Cover your specimens with a second sheet of absorbent paper, then close your press or heavy book. Move slowly to ensure the flower petals are flattening in the shape you want. If you’re using a flower press, make sure you have tightened the bolts equally to provide even pressure across the page. If you’re using a book, find something weighty (like a brick or more heavy books) to stack on top.
Step 3:
Wait 2-4 weeks for your specimens to dry completely. Drying time will depend on the thickness of the flowers and the humidity level. If you open your press after 2 weeks and the flowers are still really sticking to the page, then you want to allow more time to dry.
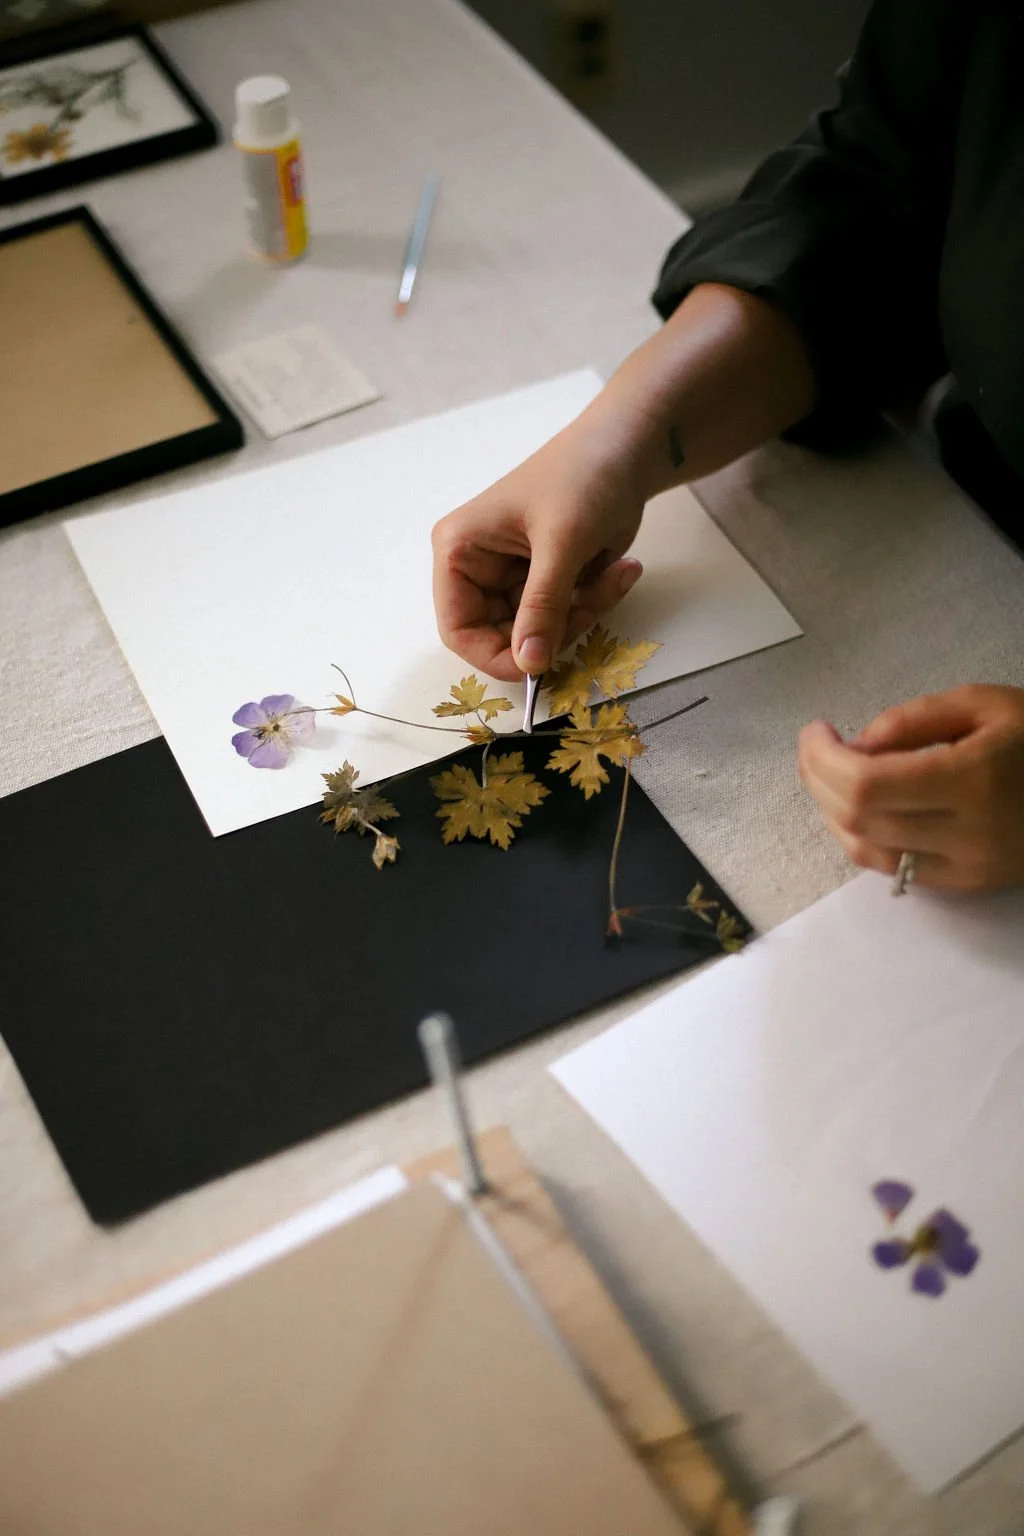
Step 4:
Carefully remove flowers from your press and arrange them on your cardstock. I find tweezers to be helpful for picking up the dried specimens because they are very delicate and fragile. But don’t worry, even if you do break something, you can always piece it back together in the next step.
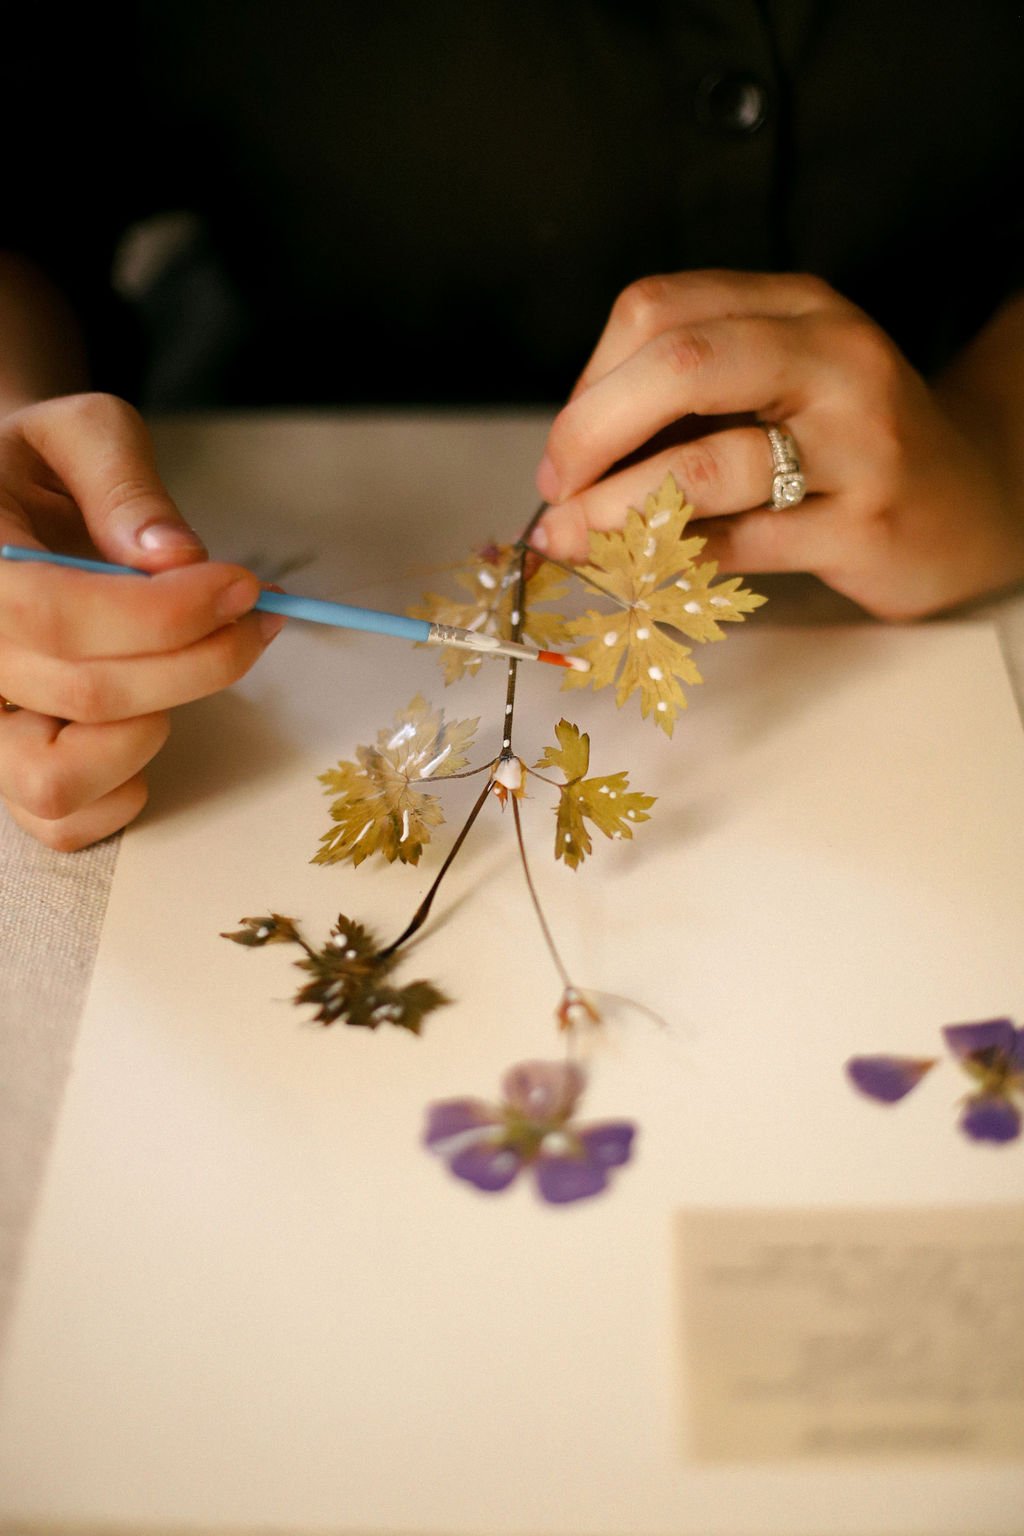
Step 5:
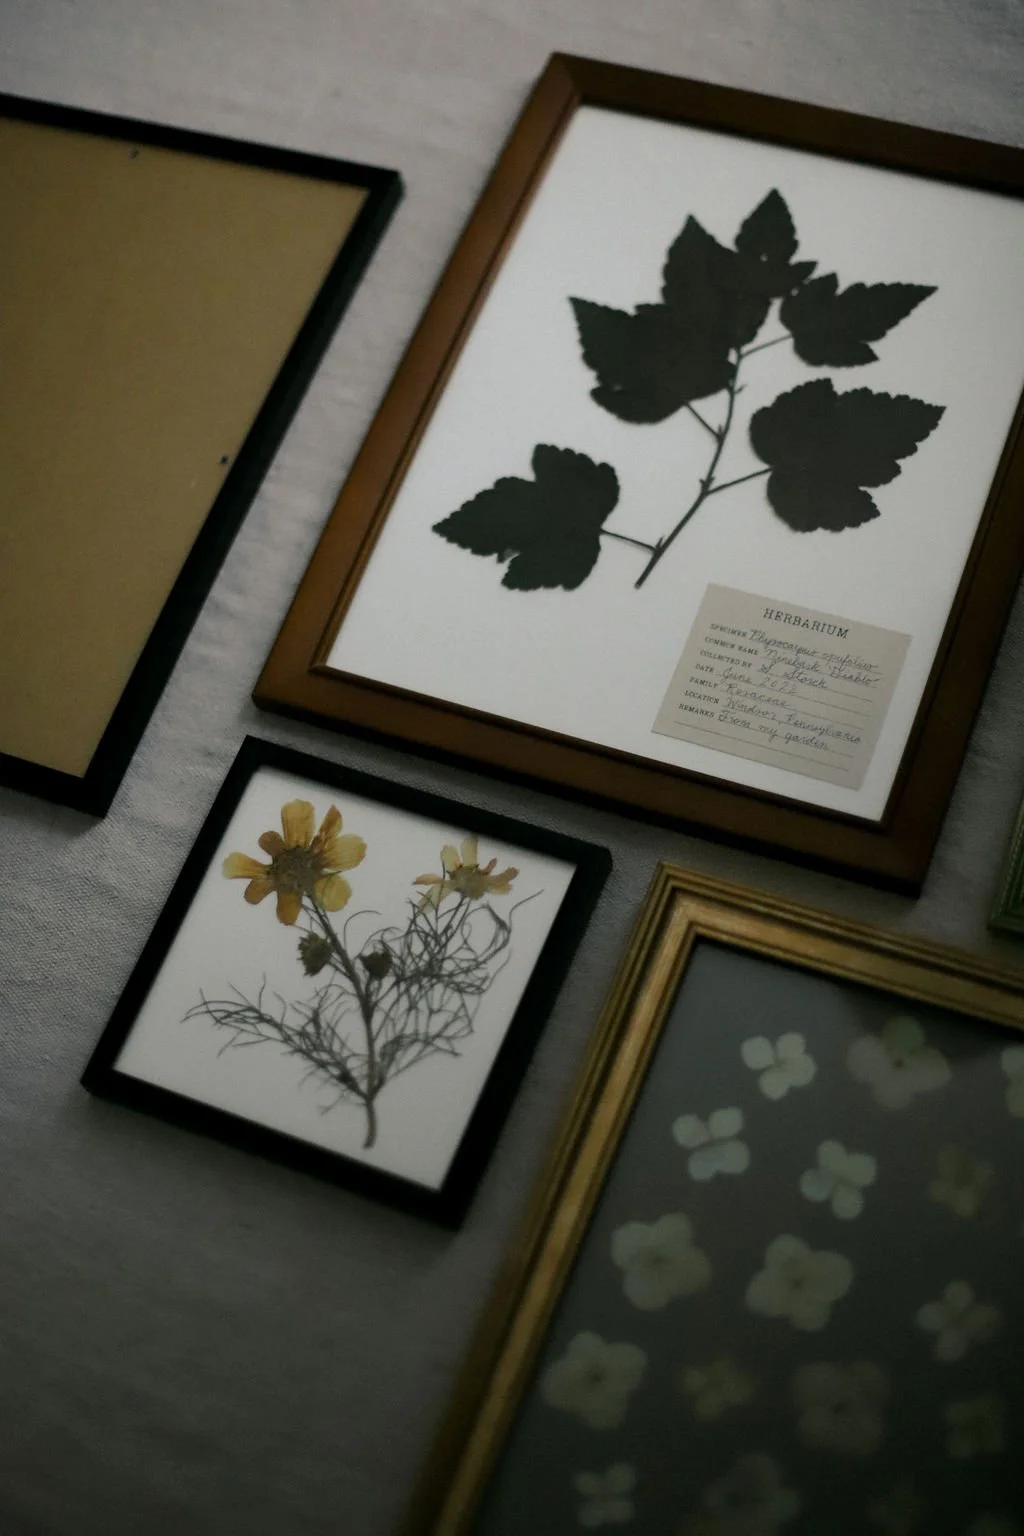
Once you decided on your final arrangement, use a fine paintbrush or q-tip to apply small dots of glue to the back of your specimens. Press gently to ensure good adhesion between the paper and the pressed botanicals. If desired, fill out your herbarium card and glue onto one corner of the page.

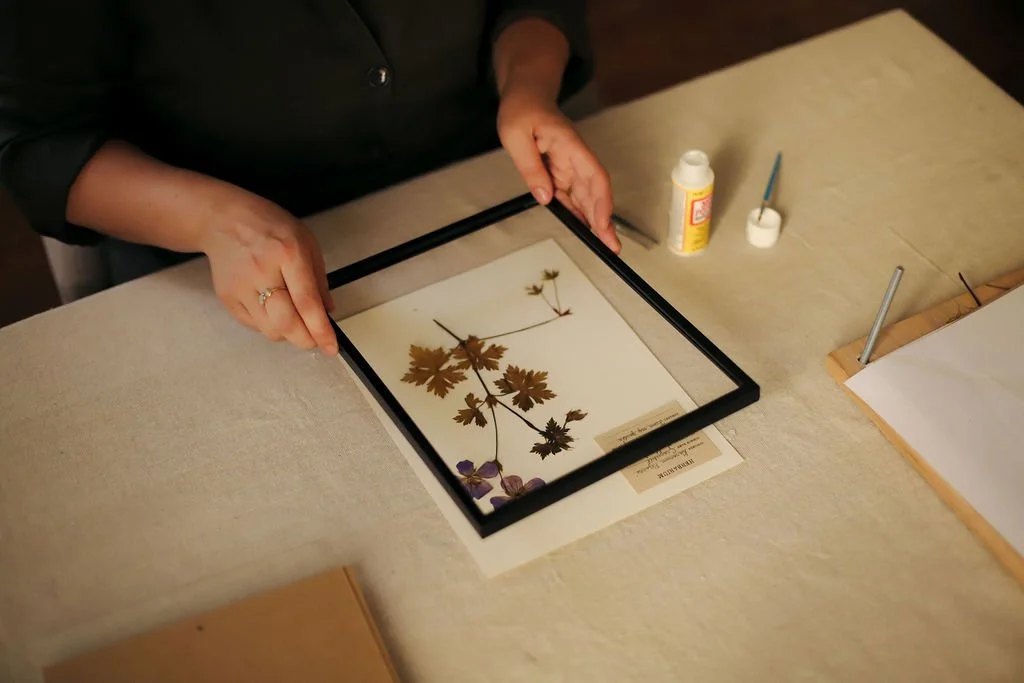
Step 6:
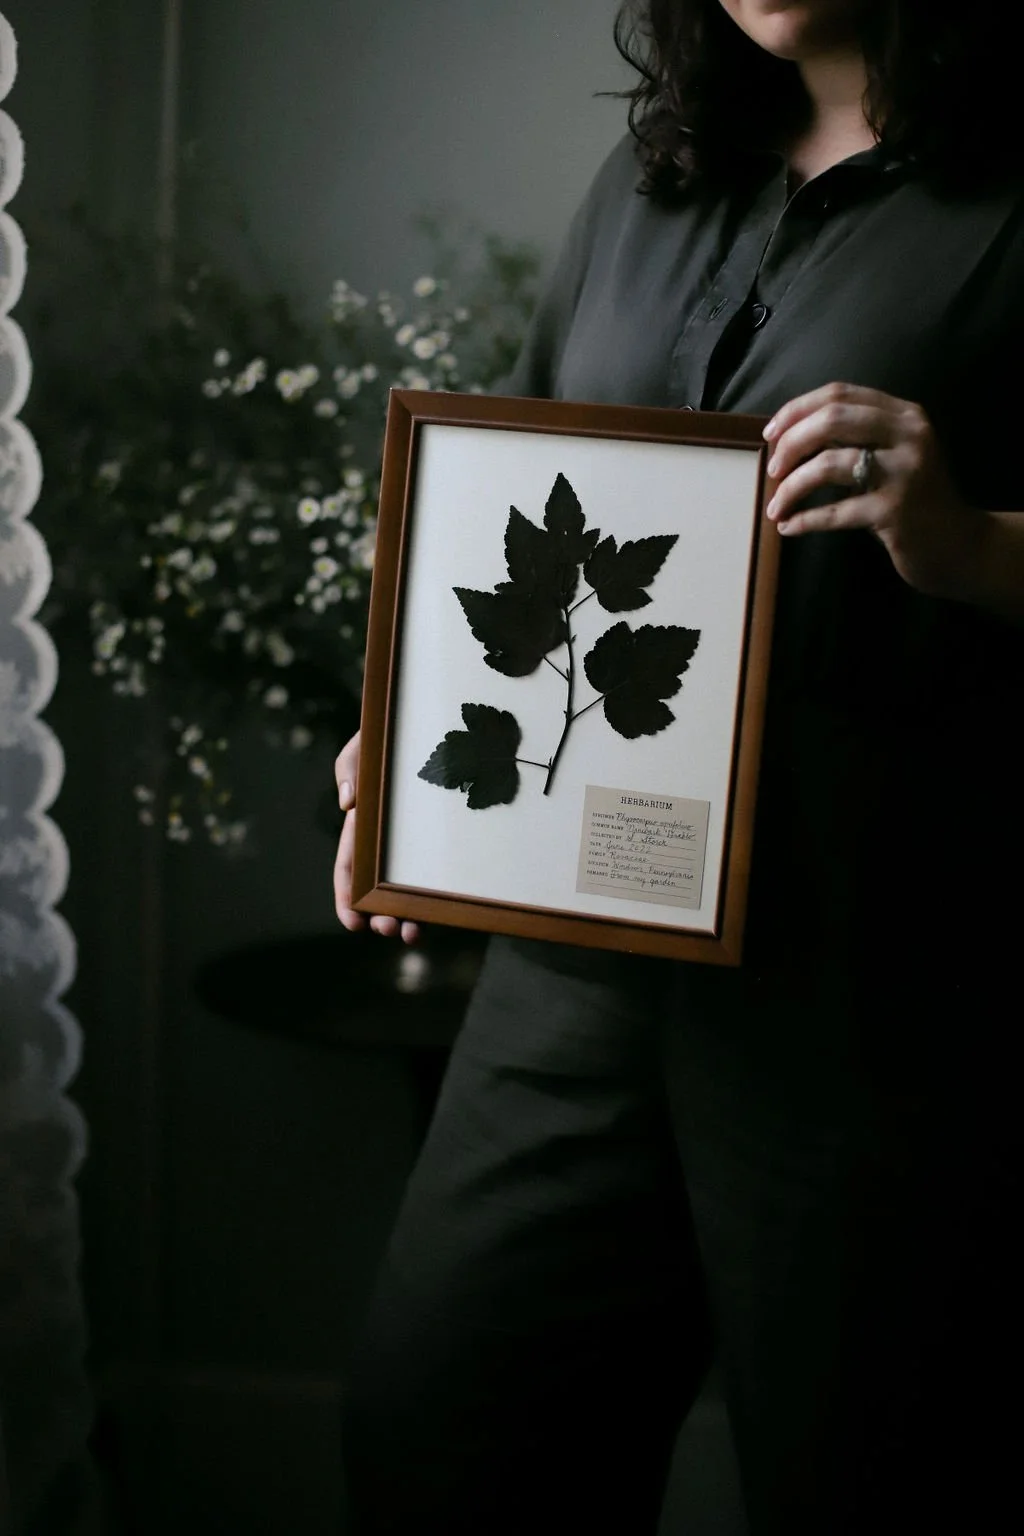
Allow the glue to dry for at least 30 minutes. Then assemble your artwork into your picture frame and it’s ready to display!
Herbarium card download
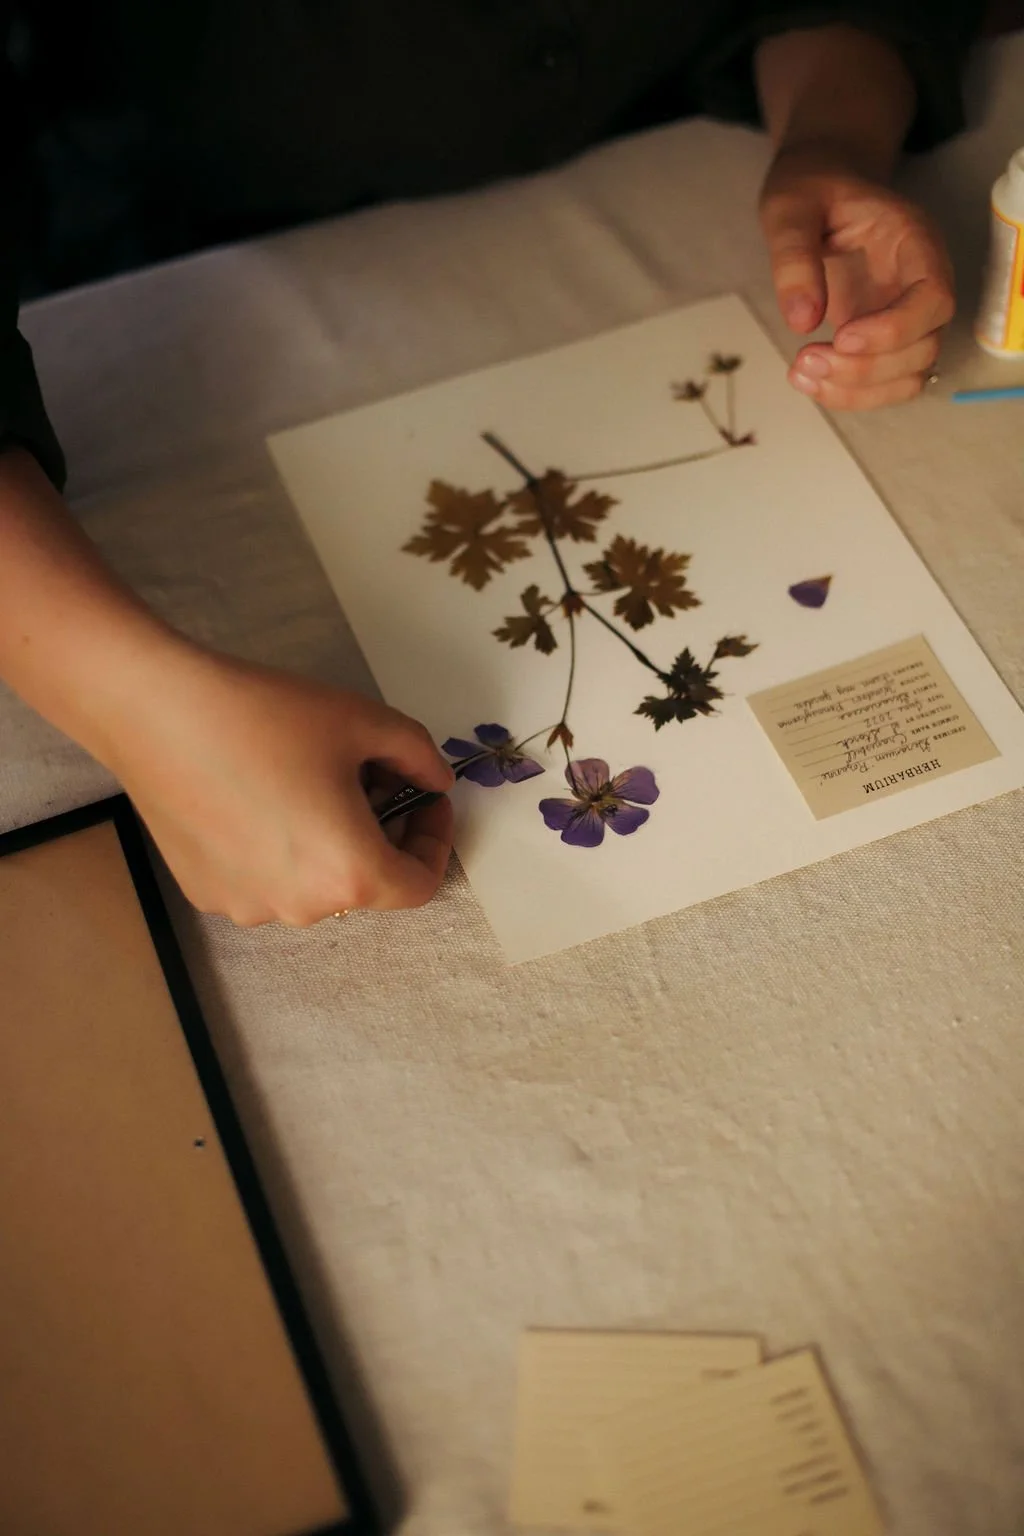
The word herbarium means a collection of preserved plant specimens that are systematically databased for the purpose of scientific study and research. Herbarium cards have been used for centuries by biologists and botanists to label preserved specimens with their scientific and common names, where they were found and by whom and along detailed descriptions of their growth habit, flower color, etc.
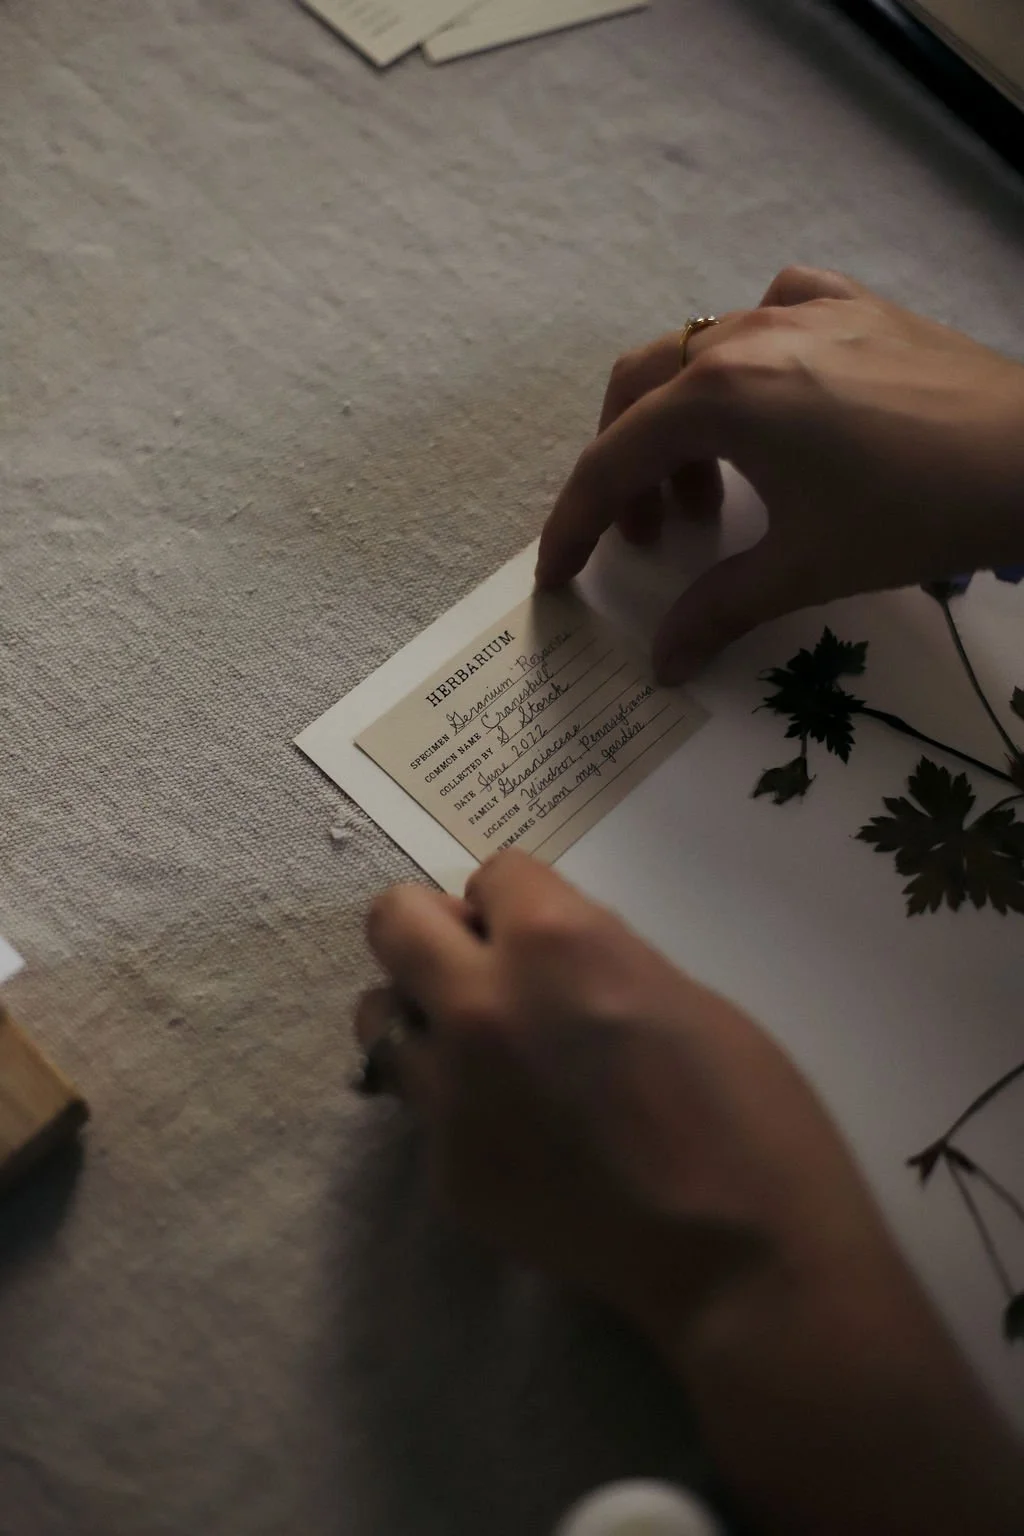
You can find authentic, antique herbarium sheets on sites like Chairish and eBay for a hefty price. I think there’s something really fun and meaningful about making your own. So I designed this herbarium card and printed it onto an ivory color paper to finish off my pressed flower artwork.
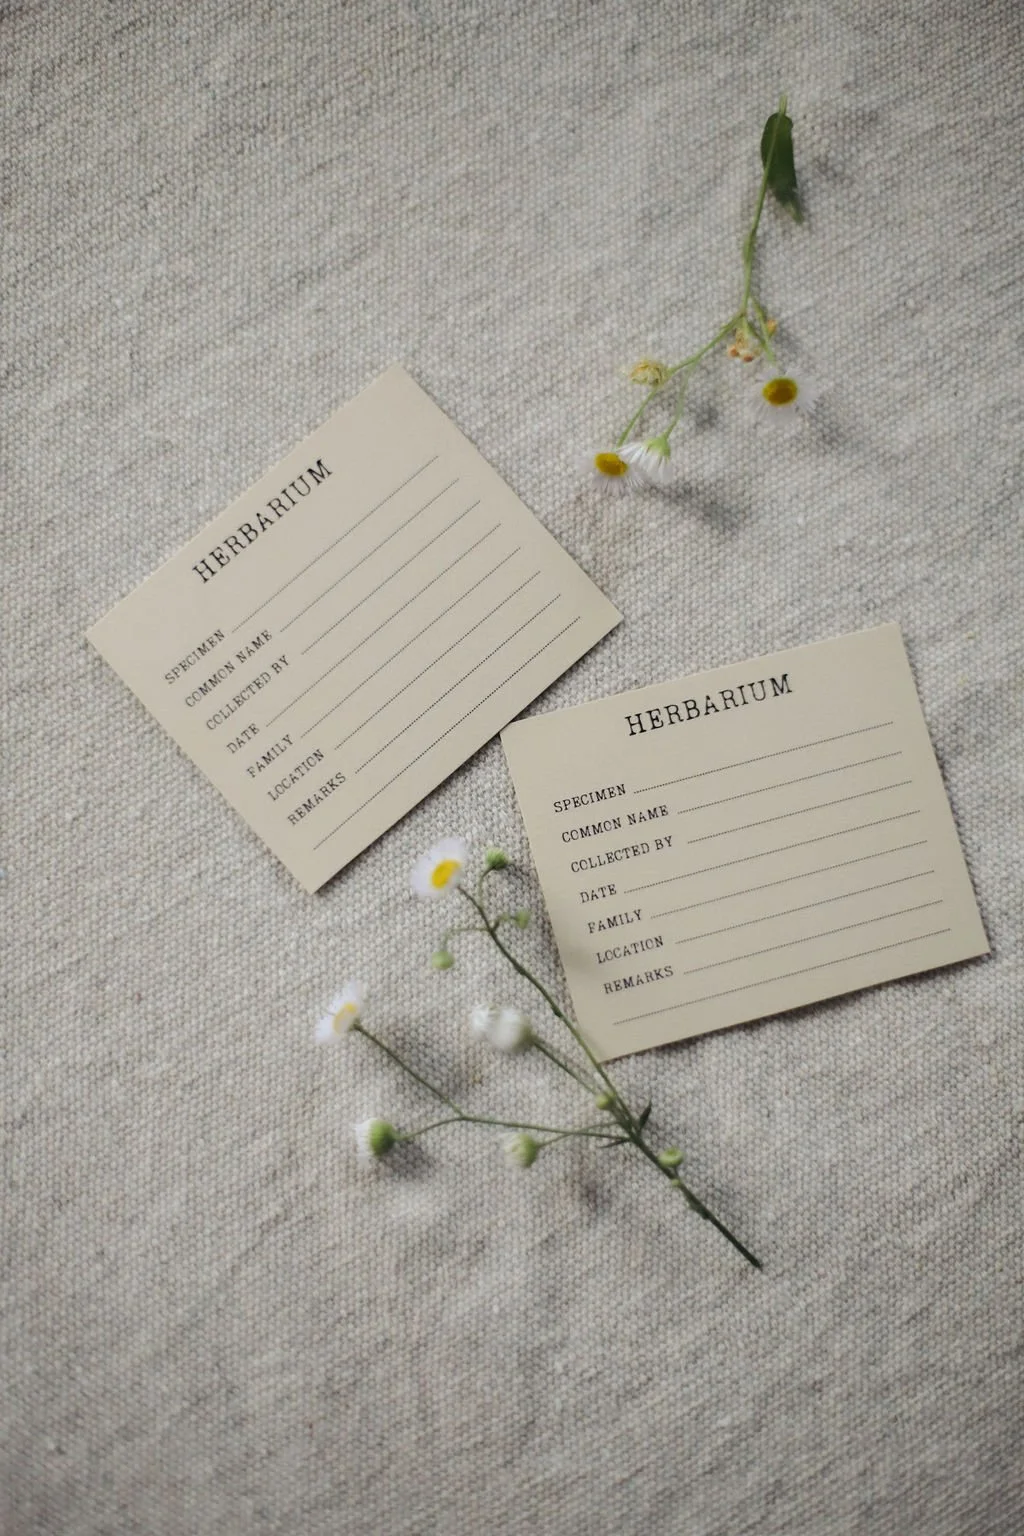
Free Printable Herbarium Card
I’m sharing this with you completely free, no strings attached! But if you want to say thank you, please consider subscribing to the Midseason Journal, here.
Other crafts you can make with pressed flowers
There are so many ways to utilize pressed flowers in crafting. You can use them on handmade greeting cards, gift tags and Christmas ornaments, to decorate a cake, or as an addition to decoupage or collage projects, and more. Click here to see more pressed flower project ideas I’ve saved on Pinterest!