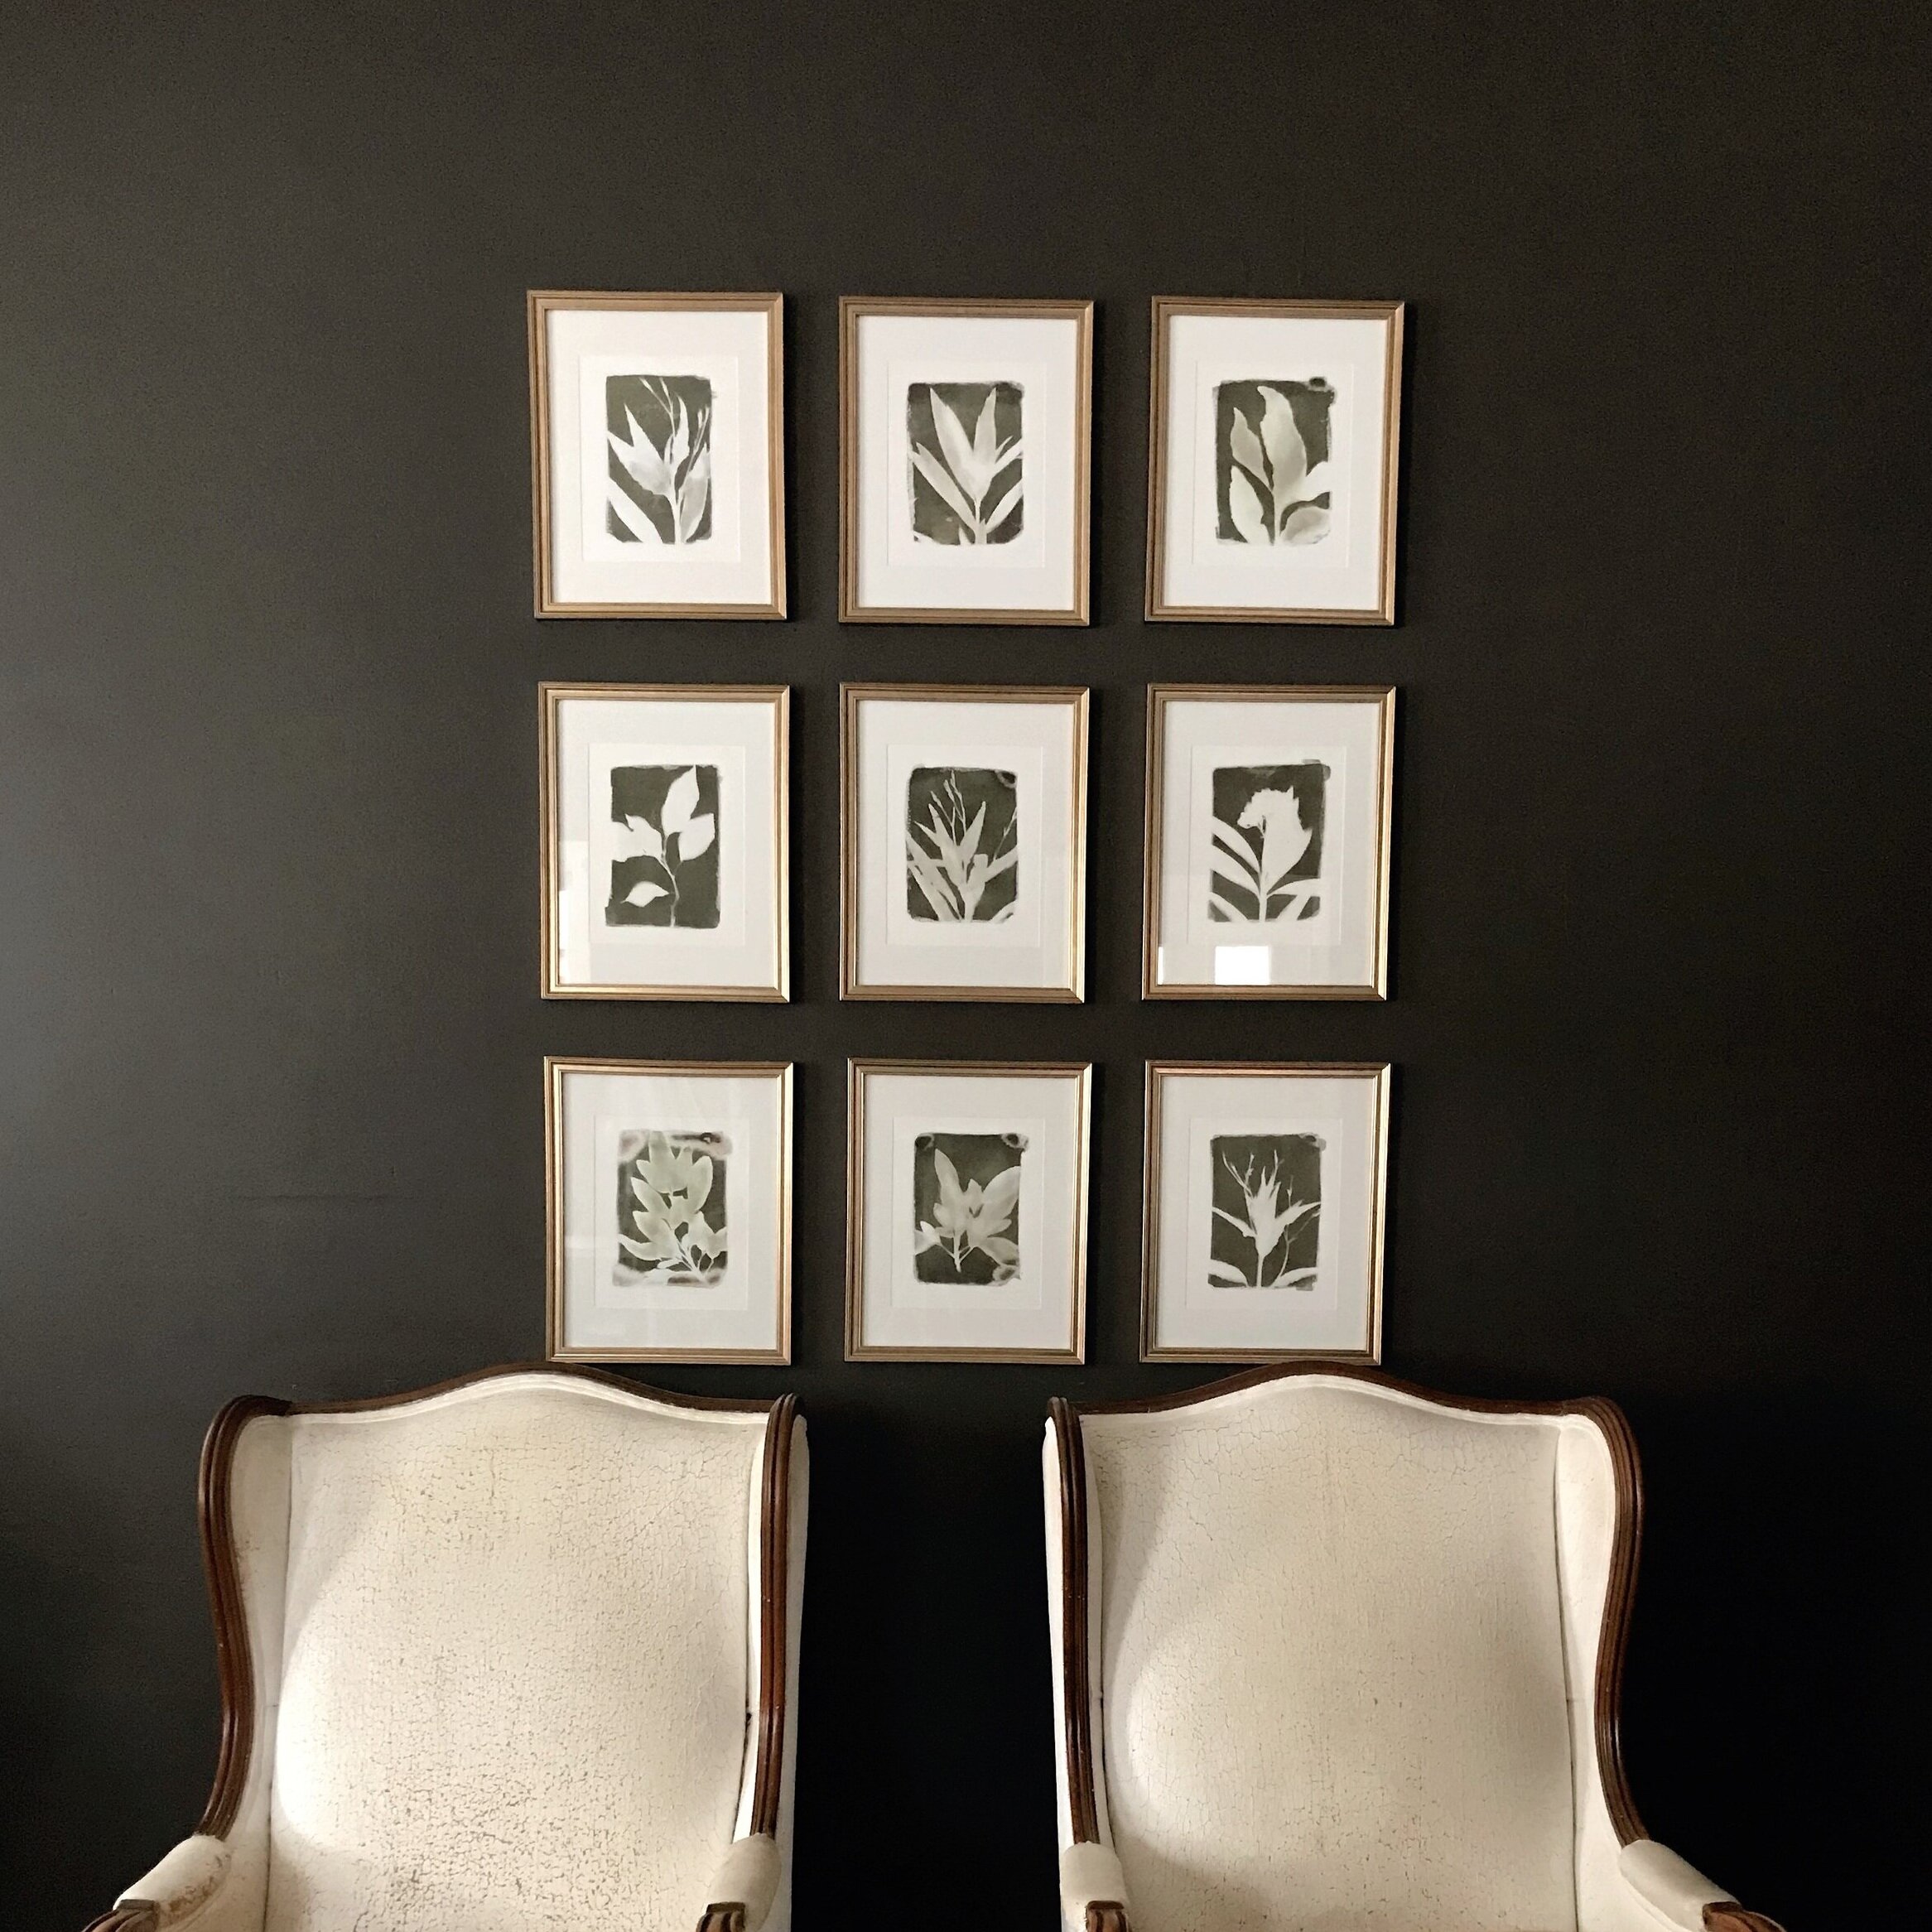
Hanging a 9 Frame Grid Gallery Wall
A grid of picture frames is a great way to display a collection of artwork or family photos in your home, but hanging them so they line up perfectly and have even spacing between frames can be tricky! That is, until you know this simple trick for hanging a perfect grid style gallery wall every time.
Supplies you’ll need
Picture frames (for this tutorial they all need to be the same size)
Measuring tape
24” Level with ruler markings (one of my most used tools!)
Pencil
Hammer
Nails
Planning your arrangement and spacing
The first thing I do is lay out my collection of frames on the floor to decide how I want to arrange them and how far apart each frame should be. This depends on the space and how many frames you have, but for the purposes of this post, I’ll be sharing instructions on how to hang a 3x3 grid (total of 9 frames) with centered hanging hardware (like a wire or a triangle hook). This tutorial also easily works for a 3 x 2 grid (6 frames) or 3 x 4 grid (12 frames!), or many other arrangements - as long as you have an odd number of frames in each row.
I usually aim for spacing of about 2-3” between frames when I’m hanging a gallery wall. If there’s more space than that, the collection starts to feel disjointed. This depends on the size of your frames (bigger frames means more space between to keep it all proportional) but 2-3” is a good rule of thumb. Try out different spacings while you have your arrangement on the floor to see what looks best to you.
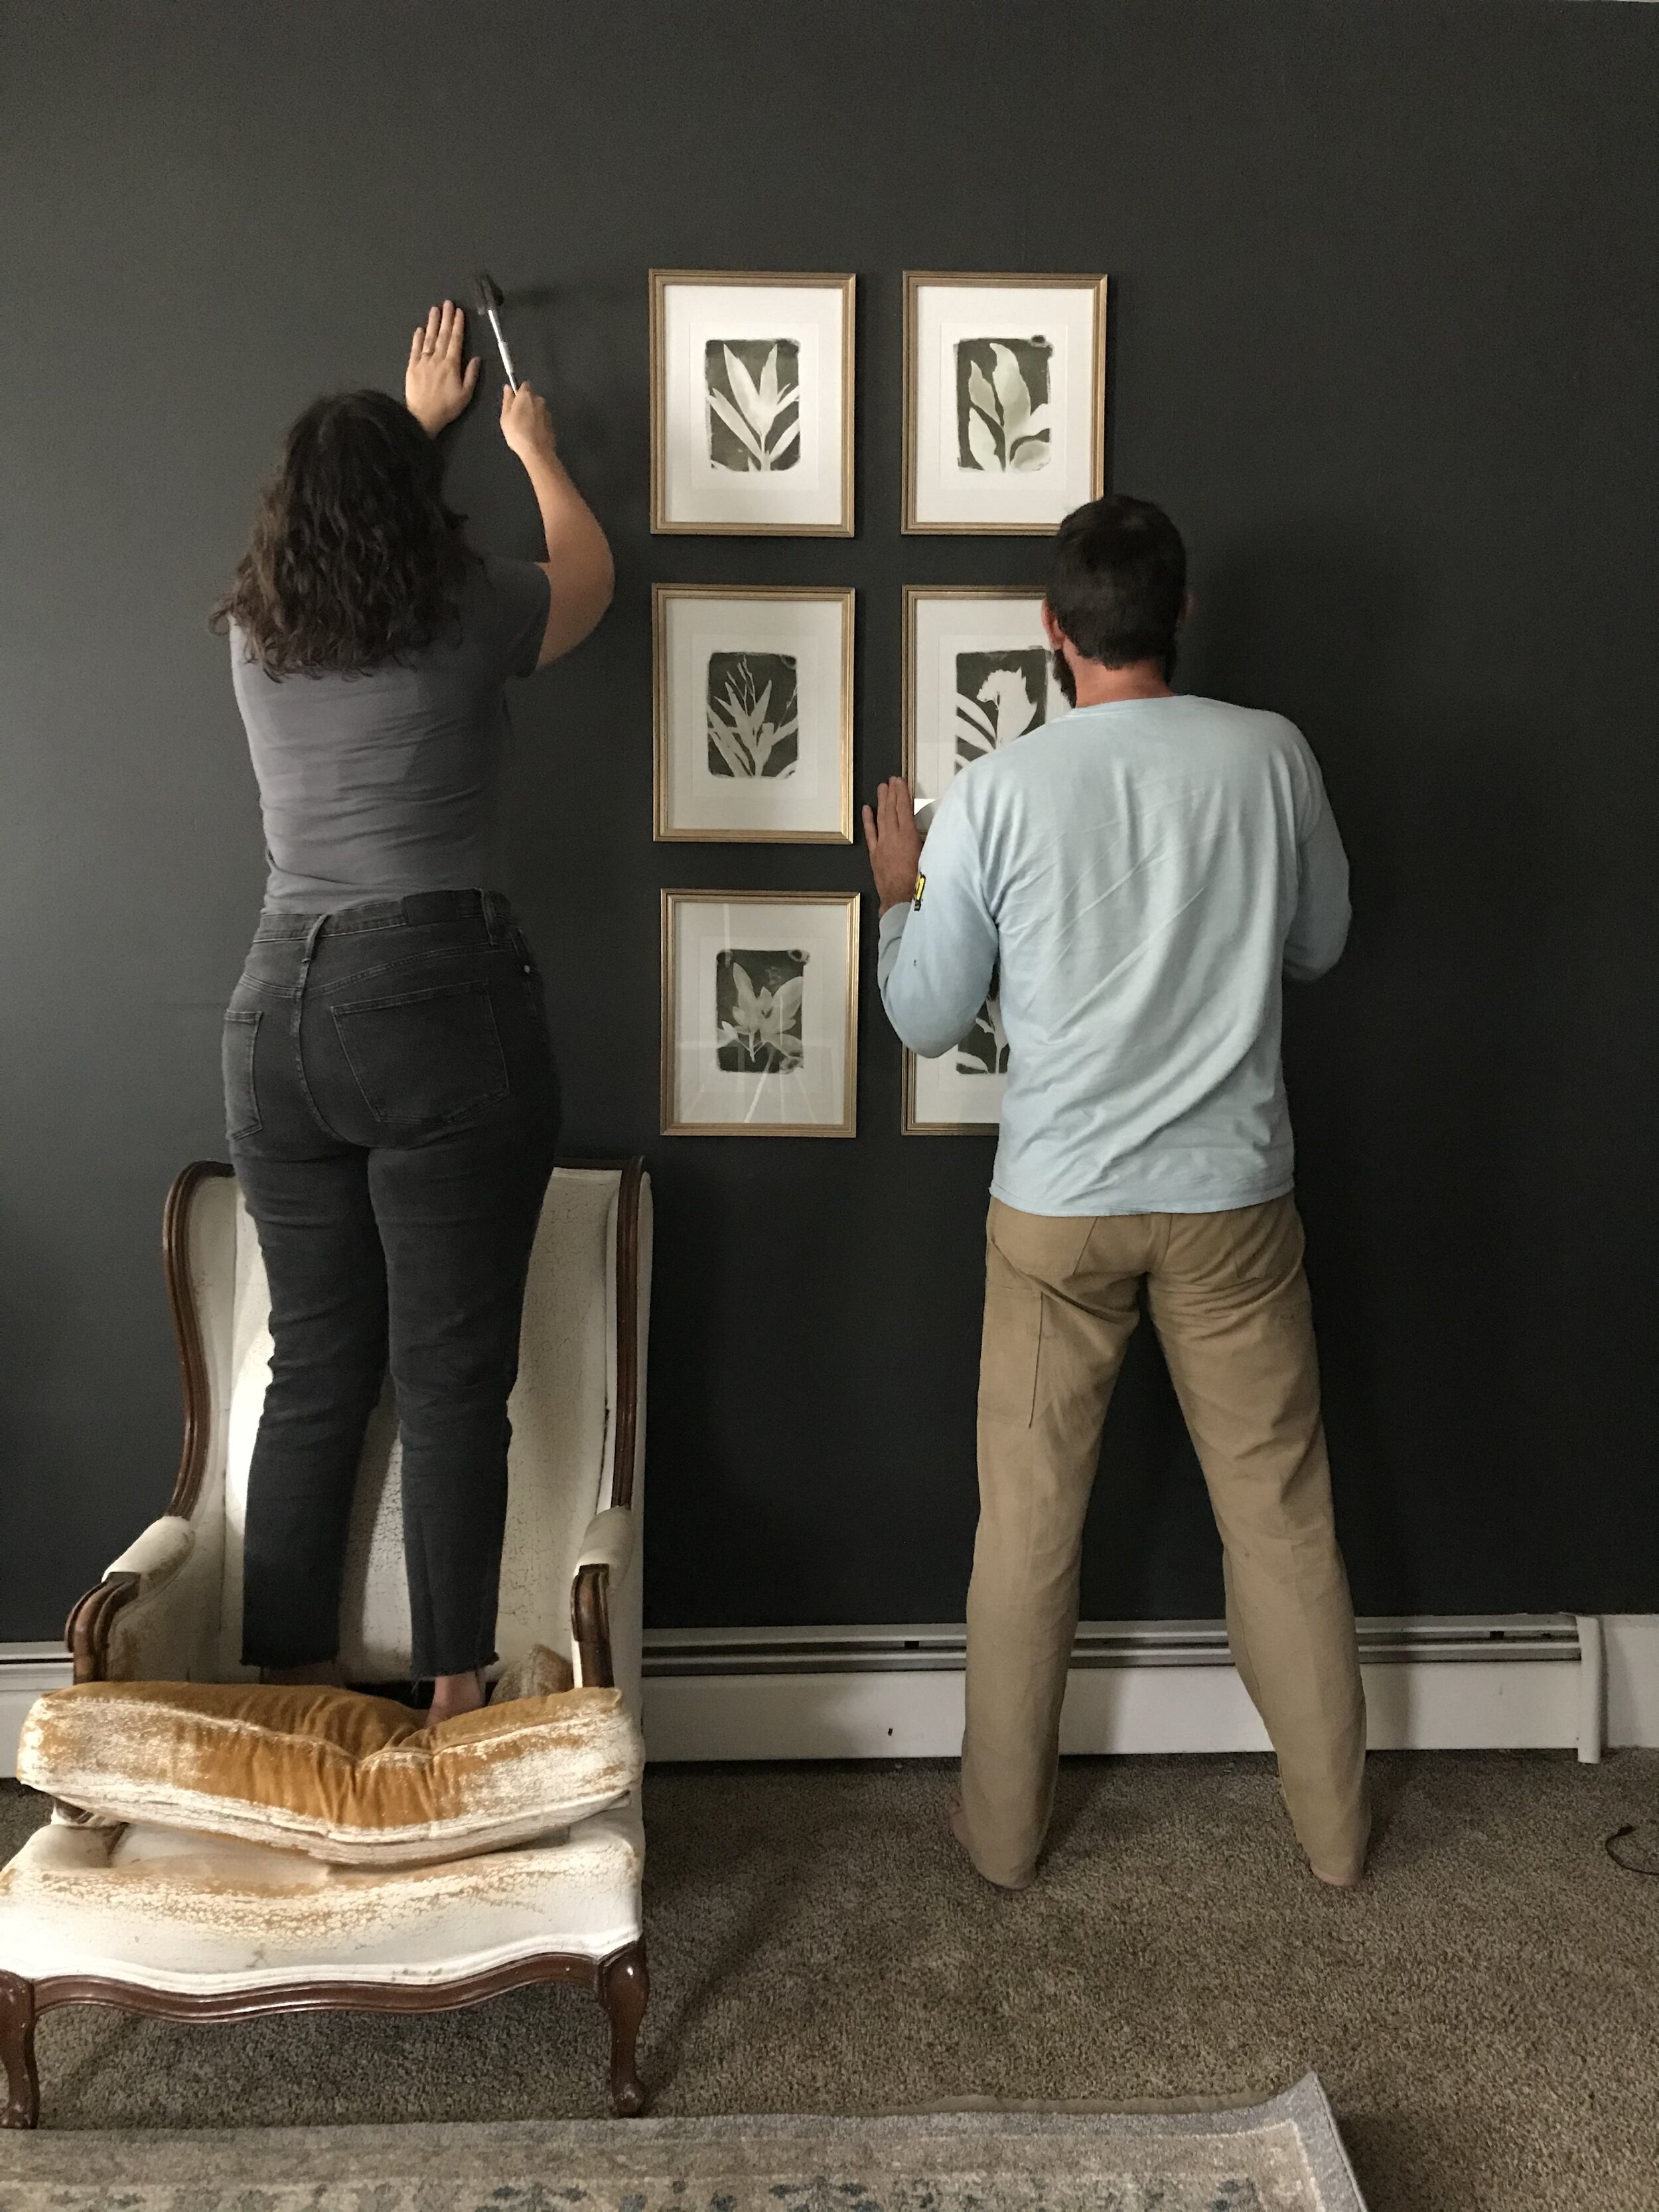
How to measure and hang the frames
The trick to hanging a grid gallery wall right the first time is finding the location of your first nail, then using a little math to map out the location of the rest.
As a general rule, the center point of a piece of art or gallery style arrangement should hit at eye level - which is about 60” up from the floor. If you are hanging your arrangement on a wall that has no furniture pushed up against it, you’ll want to map out the locations of your nails using the center point.
If you are hanging your artwork above a couch, console table, dresser, etc., you want the bottom row of frames to hit about 4-6” above your piece of furniture. In this case, you will want to map out the locations of your nails using the bottom point - specifically the location of the nail for your bottom row, middle frame.
Finding the location of your first nail
If hanging on an empty wall:
First, measure horizontally to find the center of the wall space you are hanging the art and make a small pencil mark.
In line with that first mark, measure 60” up from the floor and make a second mark that will note the center point of your frame grid.
Now, hold up your central picture frame and line up the middle center of the frame with the center point mark on your wall. Use a pencil to make a small line across the top of the frame.
Flip your frame over and measure from the top edge of your frame down to the hanging hardware. If it’s a triangular hook, measure to the inside tip of the point. If your frame has a wire across the back, pull it taut towards the top of the frame to measure.
(Draw a picture of take photos)
Now measure down that distance from where you marked the top of the frame and make a mark. This is where you’ll place your first nail.
If hanging above a piece of furniture:
First, measure horizontally to find the center of the wall space you are hanging the art and make a small pencil mark.
In line with that first mark, measure 5” up from the top of your piece of furniture and make a second mark that will note the bottom middle point of your frame grid.
Now, hold up your bottom middle picture frame and line up the bottom edge of the frame with the mark you just made. If needed, adjust the frame a little up or down, depending on what looks best to you. Then use your pencil to make a small line across the bottom of the frame.
Flip your frame over and measure from the bottom edge of your frame up to the hanging hardware. If it’s a triangular hook, measure to the inside tip of the point. If your frame has a wire across the back, pull it taut towards the top of the frame to measure.
Now measure that distance upwards from where you marked the bottom of the frame and make a mark. This is where you’ll place your first nail.
Marking out locations for the rest of the nails
From here, it gets simpler! To find the placement for the rest of the nails in that first row, calculate the following:
Your desired distance between frames + 1/2 of the width of each frame
So if you are aiming for 3” between each frame, and your frames are 12” wide then your calculation would look like this:
3” + 6” = 9” from nail to nail, horizontally
Use your level to measure that calculated distance to the right and left side of your first nail and make a mark. Hammer in your nails and your first row is complete! Now that you have one row set, you can use the location of these nails as a basis for mapping out the rest.
To find the placement for the nails in the row above and below (or just above, if you are following the steps for hanging above a piece of furniture), do this calculation:
Your desired distance between frames + the height of each frame
So if you are aiming for 3” between each frame and your frames are 18” high, then your calculation would look like this:
3” + 18” = 21” from nail to nail, vertically
Use your level to measure that calculated distance above or below your first row of nails and mark the nail locations for your other rows. Hammer in your nails and finally, hang your art work! You’re done!
What if my frames have 2 hooks (one on each side) instead of one in the center?
In this case, follow these same steps but after marking where the centered hook would go, use that point to then measure out the distance between your two hooks. So if your hooks are 12” apart, then you would measure 6” on either side of the center point for your nails.
I hope that helps! Let me know if I can answer any questions for you in the comments below.
Disclosure: This post contains Amazon affiliate links. When you shop using my links, I earn a small commission at no extra cost to you. Your support helps me create more useful design & DIY content for the blog!