New Master Bedroom Design | ORC Week Two
Whew! A lot has happened since Thursday, when I announced I will be participating in the One Room Challenge! If you missed last week's post, you can read it here. Today, I'm sharing my design board and a progress update of what we've accomplished so far.
Here's the plan for our new bedroom:

Sources: Chandelier | Bed | Nightstand | Roses | Rug | Floral Pillow c/o Spark Modern | Arabesque Pillow (no longer available) | Vintage Map | Fur Stool
I'm going for a nice balance of feminine and masculine details, in my beloved neutral color scheme of white, grey, brown, green and blue! Our new chandelier arrived this week and our new bed will be delivered next Saturday. While I'm not using this exact nightstand, it is serving as inspiration for an IKEA hack/DIY I have in the works. Same thing for the fur foot stool. It's a tough contest but my FAVORITE detail of the new design has to be the floral pillow from Spark Modern. I have been obsessed with this pattern for ages, to the point that even Anthony knows it's name (Schumacher's Pyne Hollyhock) because I talk about it so frequently. When I found it in the Spark Modern Etsy shop, I knew I had to use it for our master bedroom design. I can't wait for it to get here! If you are looking for the perfect pillows to pull together your room, I highly suggest checking out their shop! Their selection of designer fabrics is what dreams are made of (my dreams at least!) and it's organized by color family which makes finding the perfect print so easy!
But before all the pretty details can come together, we had a big transformation in store for this space. If you've read previous posts about our master bedroom, you'll know that in addition to a random sink (which we have since removed) there is also an oddly placed window on the only wall I can put the bed against. I've been brainstorming solutions for this wall since before we even closed on our house. I was originally planning to do a wall of curtains behind the bed, but with three additional windows in the room, I worried we would feel like we were swimming in fabric. No, I wanted something clean, simple and architectural. Since this truly is the only wall I can place the bed on, I started researching the idea of using paneling to semi-permanently cover the window. I came across this tutorial on the Bower Power blog and knew I had found the perfect solution!

.
I drew the wall to scale and found out we would need four, 4'x8' brick panels to cover the wall. We bought our brick panels at Lowes for around $25 a piece. To prep the window, we removed the trim and sanded down the wood framing so it was flush with the wall. Then we installed a $4 mini-blind so you wouldn't see the back of the paneling from the outside.
Installing brick panels is a fairly straightforward DIY project, and shouldn't take more than a few hours if your home is newer construction like the Bower's. It ended up taking us the entire weekend because behind our drywall is the original plaster & lath and behind that was a seemingly random arrangement of studs. It took the guys about two hours with the stud finder to map out the location of each stud. This wall has vertical and horizontal framing that starts and stops where you would never expect it to. I have some theories as why this is (a. This room was once a kitchen when the house was split into a duplex so maybe we have some horizontal rails that were there to support the upper cabinets and b. I suspect there was previously another window on this wall that was covered over during a previous renovation) but truly, this is just a "joy of buying a hundred year old house" situation. It took some time upfront, but mapping out all the studs like that made the actual panel installation go so smoothly. Not surprisingly, our walls are little out of square, so we did have to trim a little off the panels to make sure the brick pattern matched up. But since I had decided to paint the bricks an opaque white, this wasn't anything a little caulk couldn't fix.


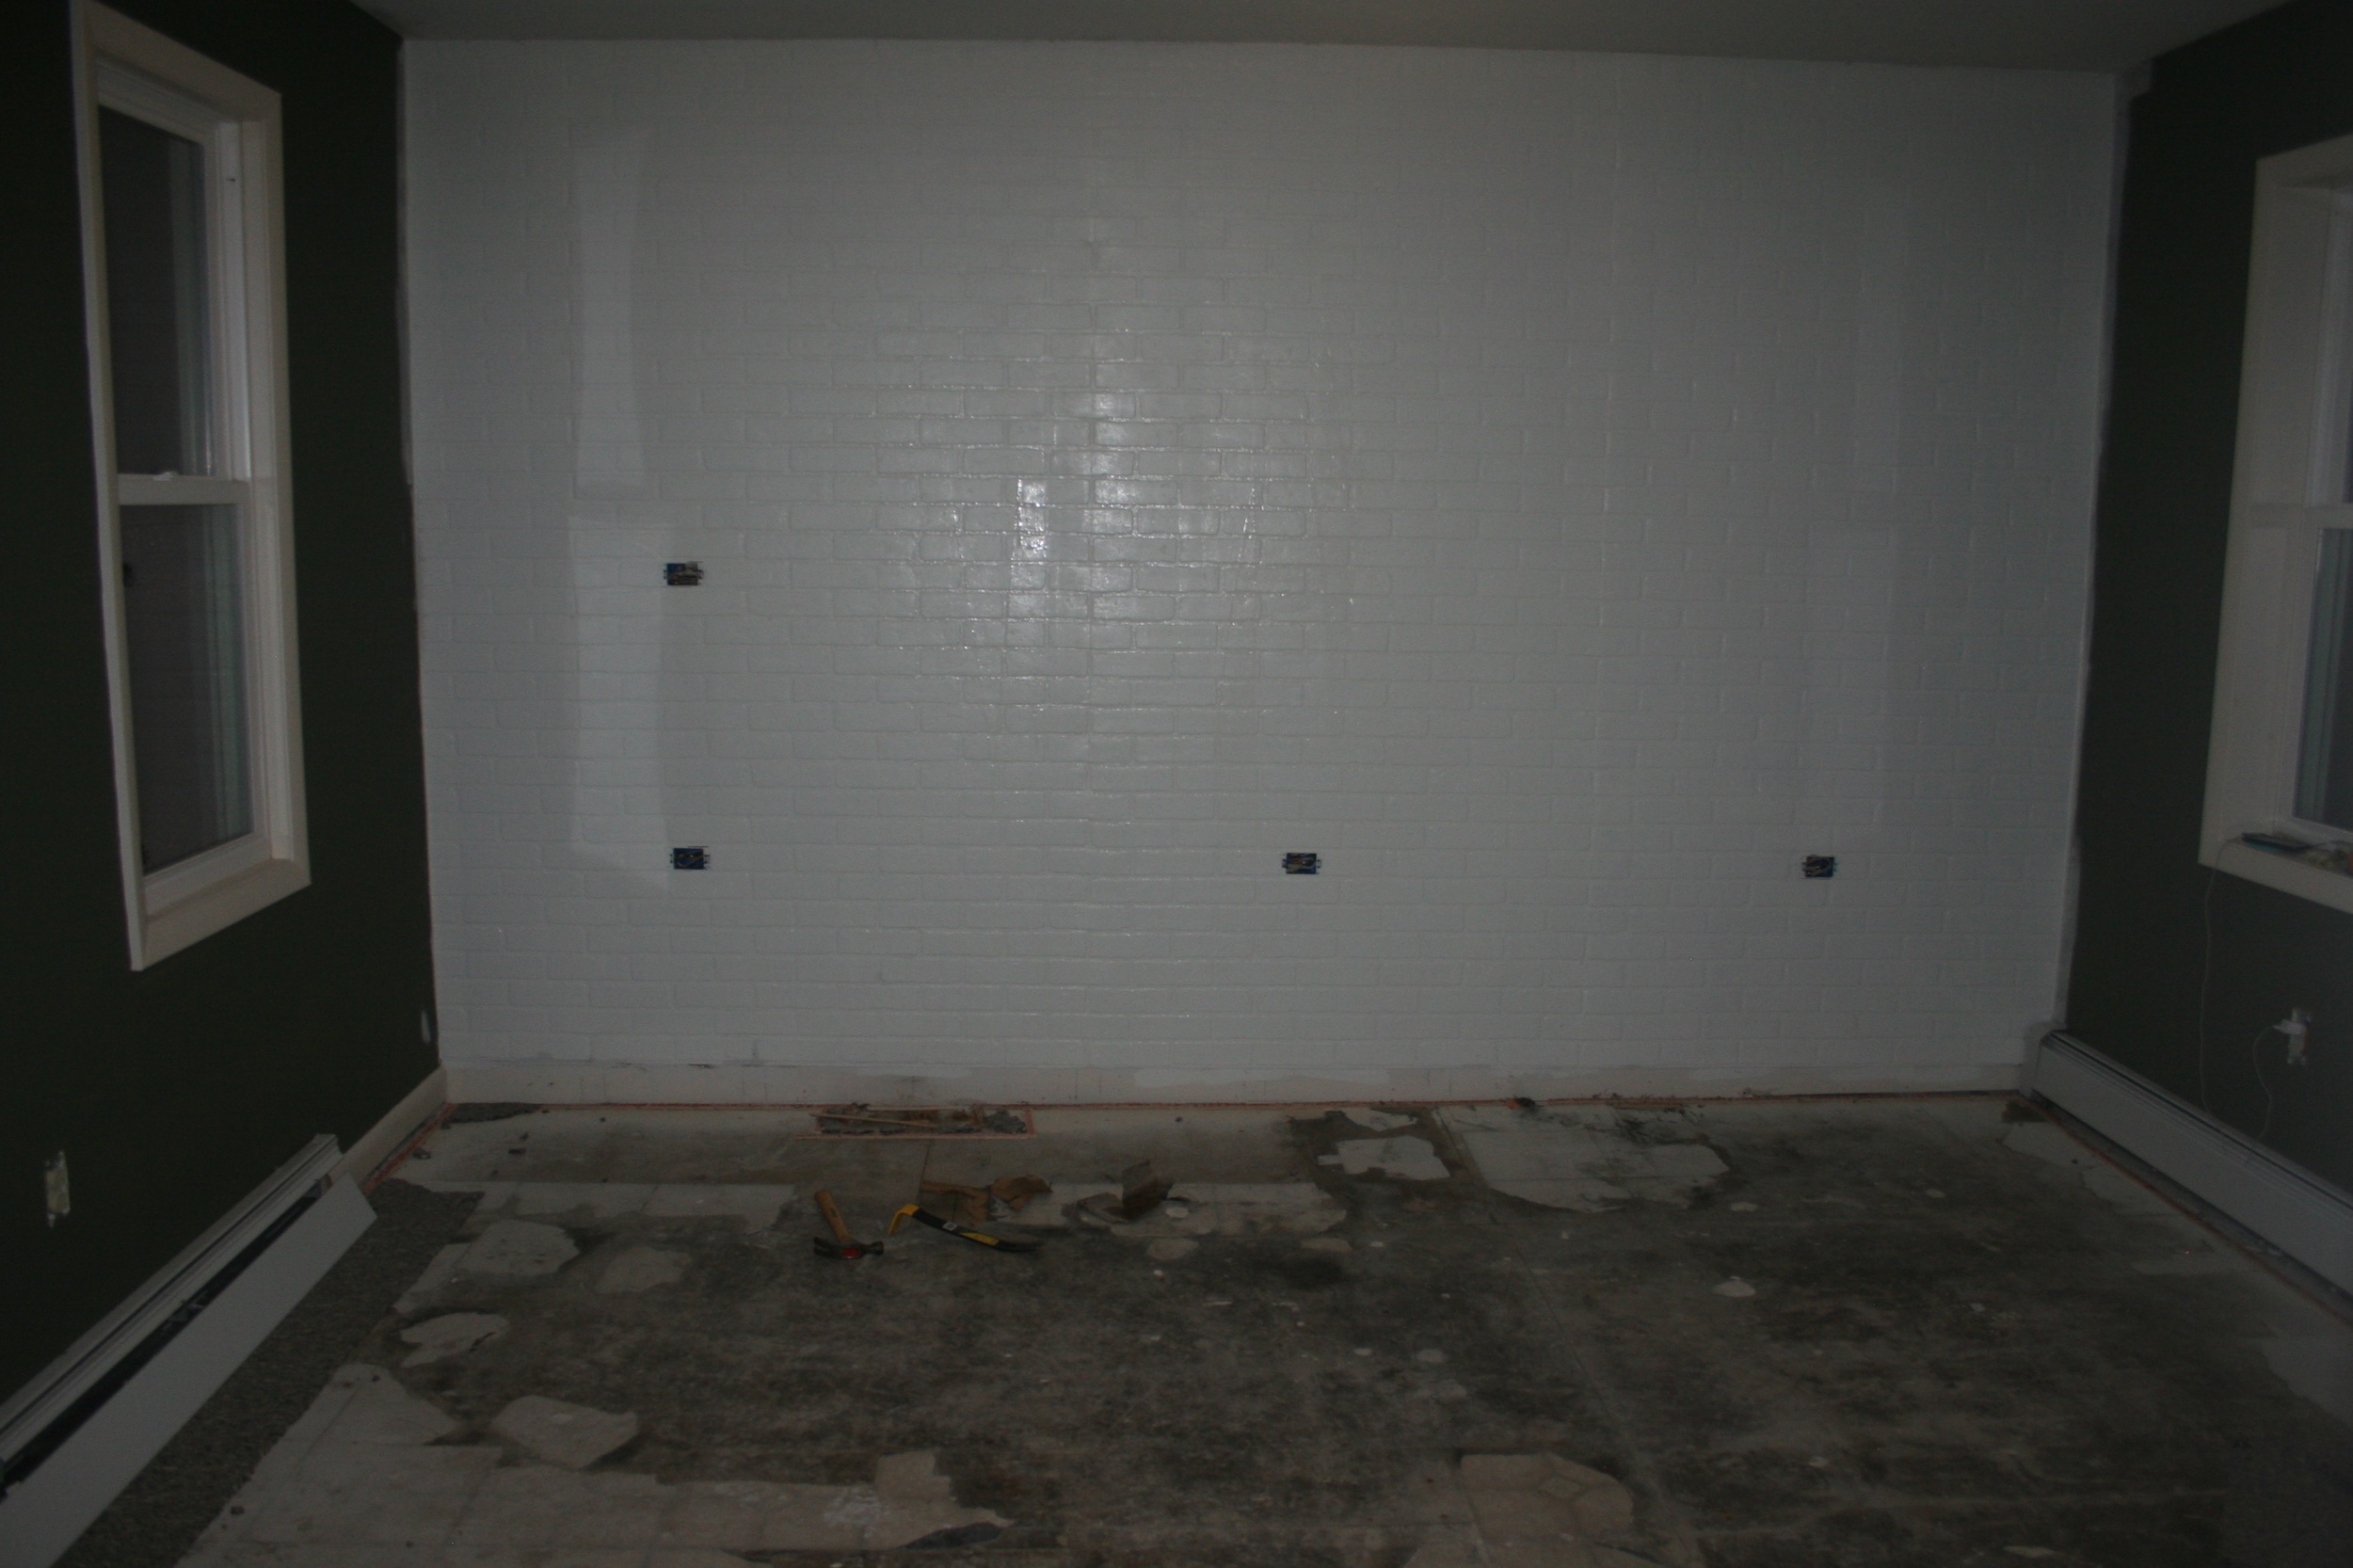
Here's what the wall looked like when we finished installing it! In the photo, it looks pretty awesome but in person the screws and seams between the panels were pretty evident. I decided to prime first, and then caulk the seams and the edges where the panels didn't quite meet the ceiling or walls.

After primer...

After caulk and the first coat of paint...

And then I had an epiphany. About a month ago, I finally convinced Anthony that we should tear up the carpet in the Master bedroom as a test. We knew there were hardwoods under there somewhere, we just weren't sure what else might be in between. I realized if I was going to have the floors ready for our bed to be delivered next Saturday, I needed to put painting on the back burner. So at 9:00pm Tuesday night, I turned up my Spotify playlist and started tearing up the carpet...

...and found some patchy vinyl over cardboard underlayment. But underneath that, beautiful, 113 year old hardwood floors!
Like I said in my Instagram caption, the floors are going to take a lot more work but we are just thrilled that they seem to be in good condition! This room is the test, as we would eventually like to uncover all of the hardwoods throughout the house. It's definitely a labor intensive project but I can already tell it will be so worth it!
So that's what I've been up to this week! I have a lot more to accomplish this coming week. I'll be sharing sneak peeks and updates on Instagram. I am so excited to see this room come together!
What do you think of the design plan? Is there anything you would add or change?
Click here to see the other Guest Participants Week Two posts!